I made a few cards with my scraps from last year and now I keep all of those scrappy strips whenever I make any cards. I decided to use some recently to make some more cards.

To make them, I cut a piece of scrap cardboard to size. I use the cardboard that comes in a pack of patterned paper, but any cardboard will do - you won't see it once the card is finished. I then cut a piece of Multipurpose Adhesive Sheets to size and place it onto the backing piece. My cards usually measure 6" x 4" so I cut the backing piece 5.75" x 3.75", but you can choose any dimensions. Then you just lay the strips as you like. Most of my strips are around half an inch wide but they can be wider or narrower, it doesn't really matter. I usually start with one long strip diagonally across the middle, then change directions as the whim takes me. I try to coordinate the colours but sometimes it gets away on me. I even use strips of plain cardstock sometimes.
 |
| Using coordinating colours looks pretty good... |
 |
| But a mish-mash of colours can look good, too. |
Once you've trimmed the DSP, adhere your masterpiece to your card base, stamp and punch out a label or two and there you have it! I often use the Starburst Punch and the 1.75" Circle Punch although I sometimes use a variety of sizes of the circles. But you don't have to only use circles, experiment!
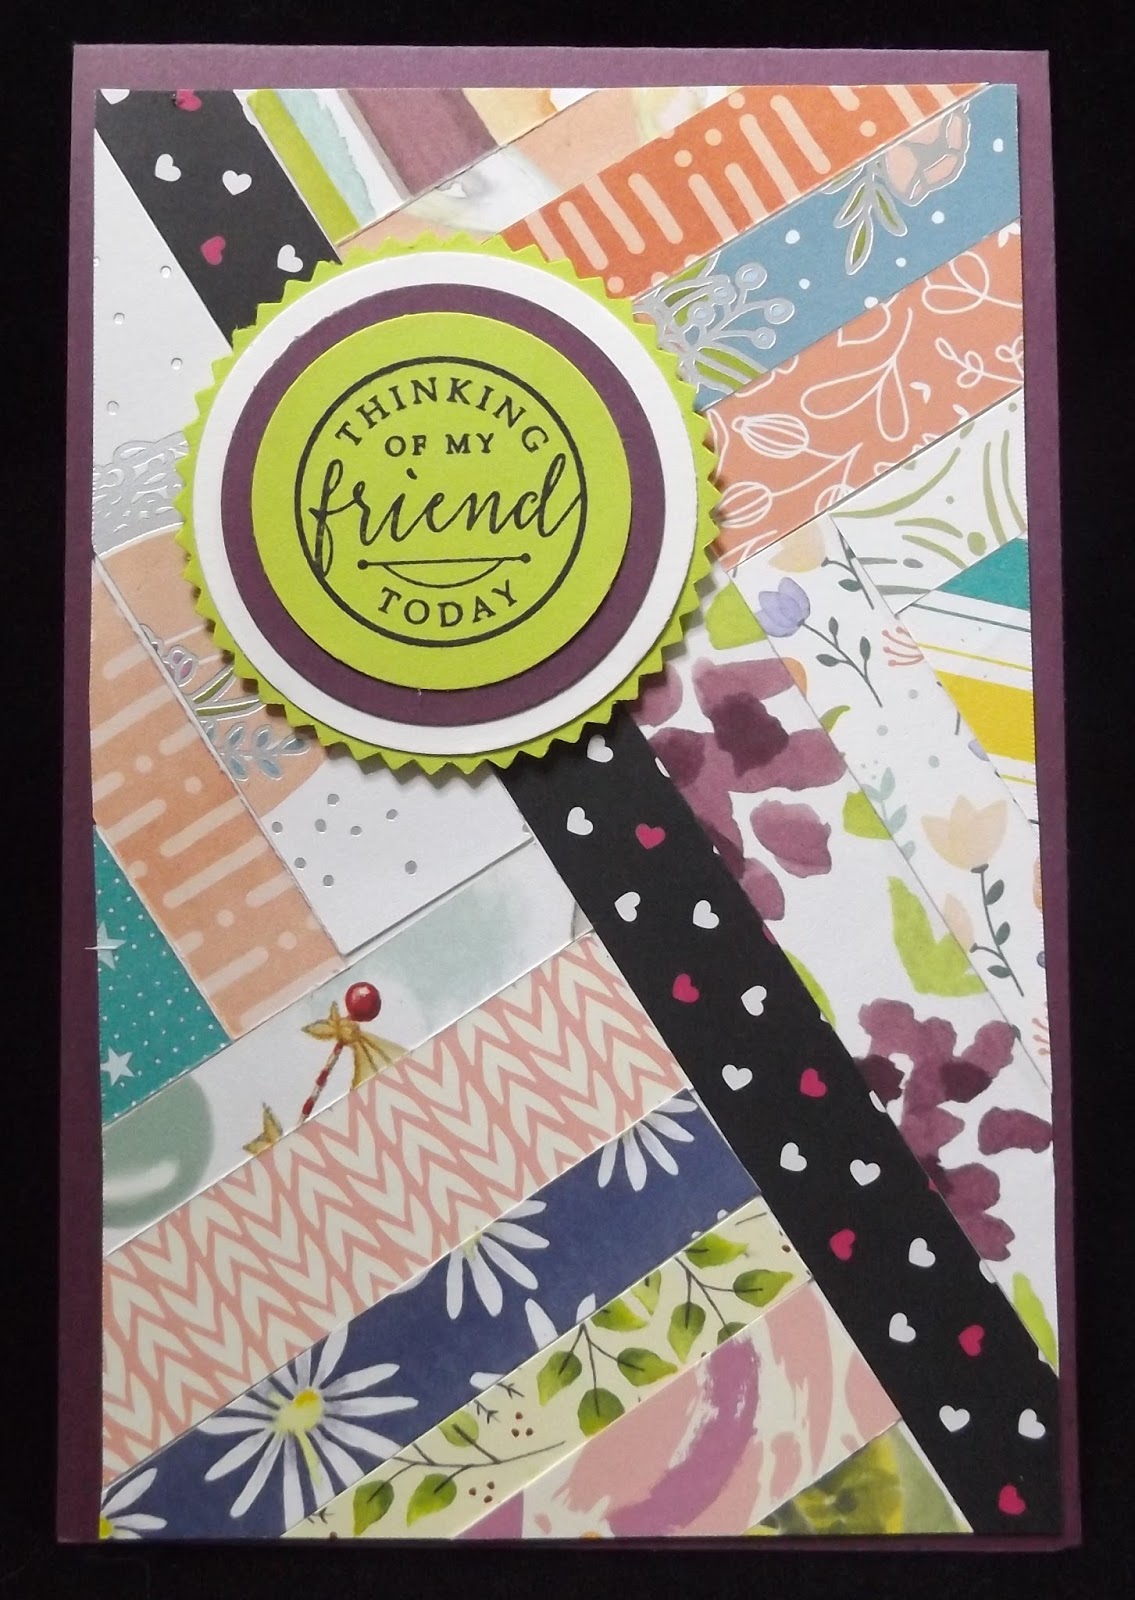 |
| I used FOUR circles on this one! |
Another little tweak is to cut your backing piece slightly smaller (say a quarter of an inch, length and width) and use a piece of contrasting plain cardstock to provide a bit of a border.
 |
| Adding a mat of contrasting cardstock can make a difference. |
This technique can be a little time-consuming to make but they do look good and you will feel good because you've used some of those little scraps that you just cannot bear to throw away. Plus it's quite good fun and somewhat therapeutic. Enjoy!