My card for today is the Side Gate Fold Card. This is an extremely easy card to make and I have previously blogged the instructions: Side Gate Fold Card.
I used the Dainty Flowers Designer Series Paper that is currently available for FREE with a $90 purchase, along with a few different stamp sets (listed with the photos).
Card 1
 |
| Hello Ladybug Stamp Set (flower) Enjoy the Rhythm Stamp Set (sentiment) |
Card 2
 |
| Hello Ladybug Stamp Set (flowers) Enjoy the Rhythm Stamp Set (sentiment) |
For Cards 3 and 4, I tipped the cards over and had the opening on the left side of the cards.
Card 3
It's worth remembering that almost all of Stampin' Up!'s Designer Series Paper is double-sided. This is the 'back' of one of the sheets. |
| Enjoy the Rhythm Stamp Set |
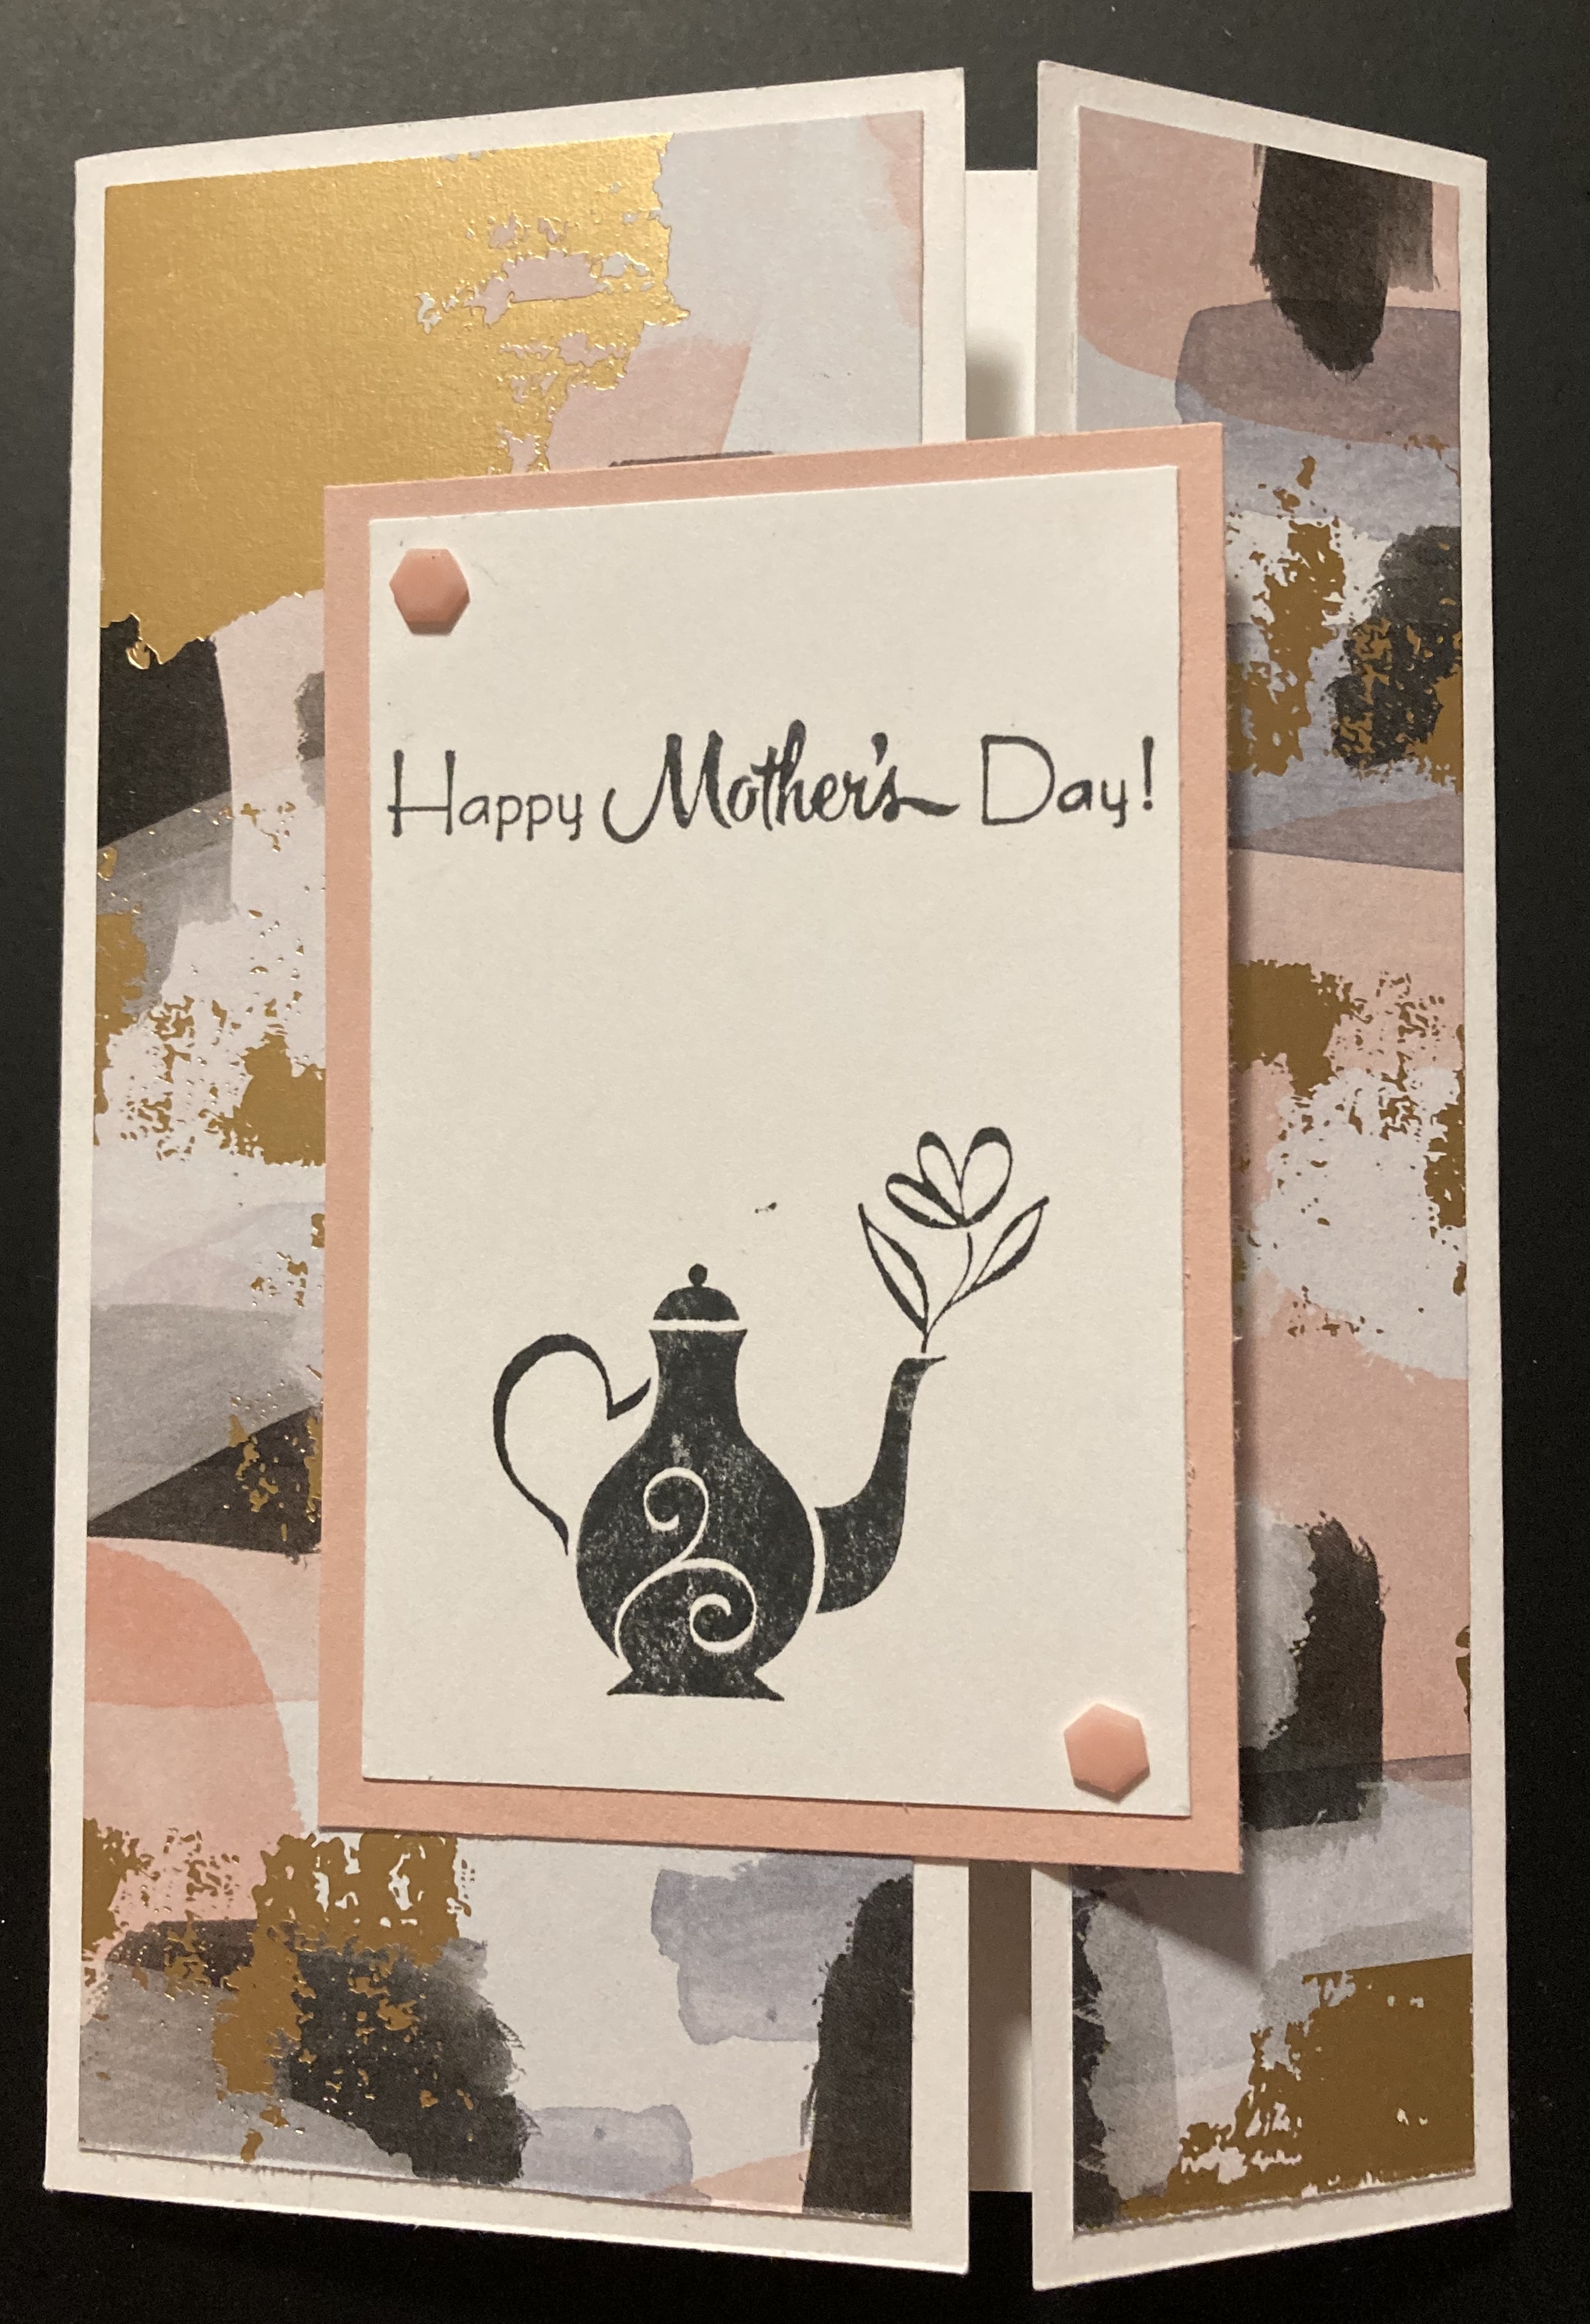
Card 4
 |
| Hello Ladybug Stamp Set |
Spotlight: Hello Ladybug Stamp Set

This cute stamp set partners with a punch to make building ladybugs much easier: Ladybug Builder Punch.

That's all for today. See you tomorrow.
Happy crafting.