Tuesday 14 November 2023

Fractured Cards

I wasn't planning to do a new post just yet, but a friend in a RAK group challenged us to try making Fractured Cards, so I did!


They look tricky but they are deceptively easy.


Materials

Coloured cardstock (card base and strips)
Patterned paper (card front)
Piece of white or light cardstock (sentiment label)
Adhesive (double-sided tape is easiest)

Equipment

Paper Trimmer
Stamps
Ink pads
Scissors

Instructions

1. Cut the coloured cardstock to make a base - I used an A4 sheet cut in half.

2. Cut the patterned paper to fit on the card base. Mine are 5" x 3". You could use a mat between the card base and patterned paper if you wish. If so, use those measurements for the mat and cut the patterned paper 5" x 3". DO NOT adhere the patterned paper to the card base yet.

3. Cut strips of coloured cardstock ¼" wide. You will need around 14" long of strips depending on the size of your sentiment piece. You can make the strips wider if you want, but this size looks good.

4. Make the sentiment label. Mine is 2½" x 2½" but it can be any size you like as long as it's square. Stamp your sentiment onto this label and adhere it in the centre of your patterned paper either straight or angled.

Examples (I had adhered the patterned paper to the card base but it's easier if you don't)

5. Place a strip along one side of the sentiment piece, starting at ⅛" from the bottom edge of the label. Note the uneven edge at the top of this strip. This is why it's better to NOT adhere the patterned paper to the cardstock. It's easier to cut the strip straight with no card base beneath it! You can place all of the strips and then trim to the edge of the patterned paper, especially important if you do an angled label.


6. Continue placing strips as shown below.


7. Once all of the strips have been placed, trim as mentioned above and adhere the patterned paper to the card base (with or without a mat). 

8. Embellish as desired

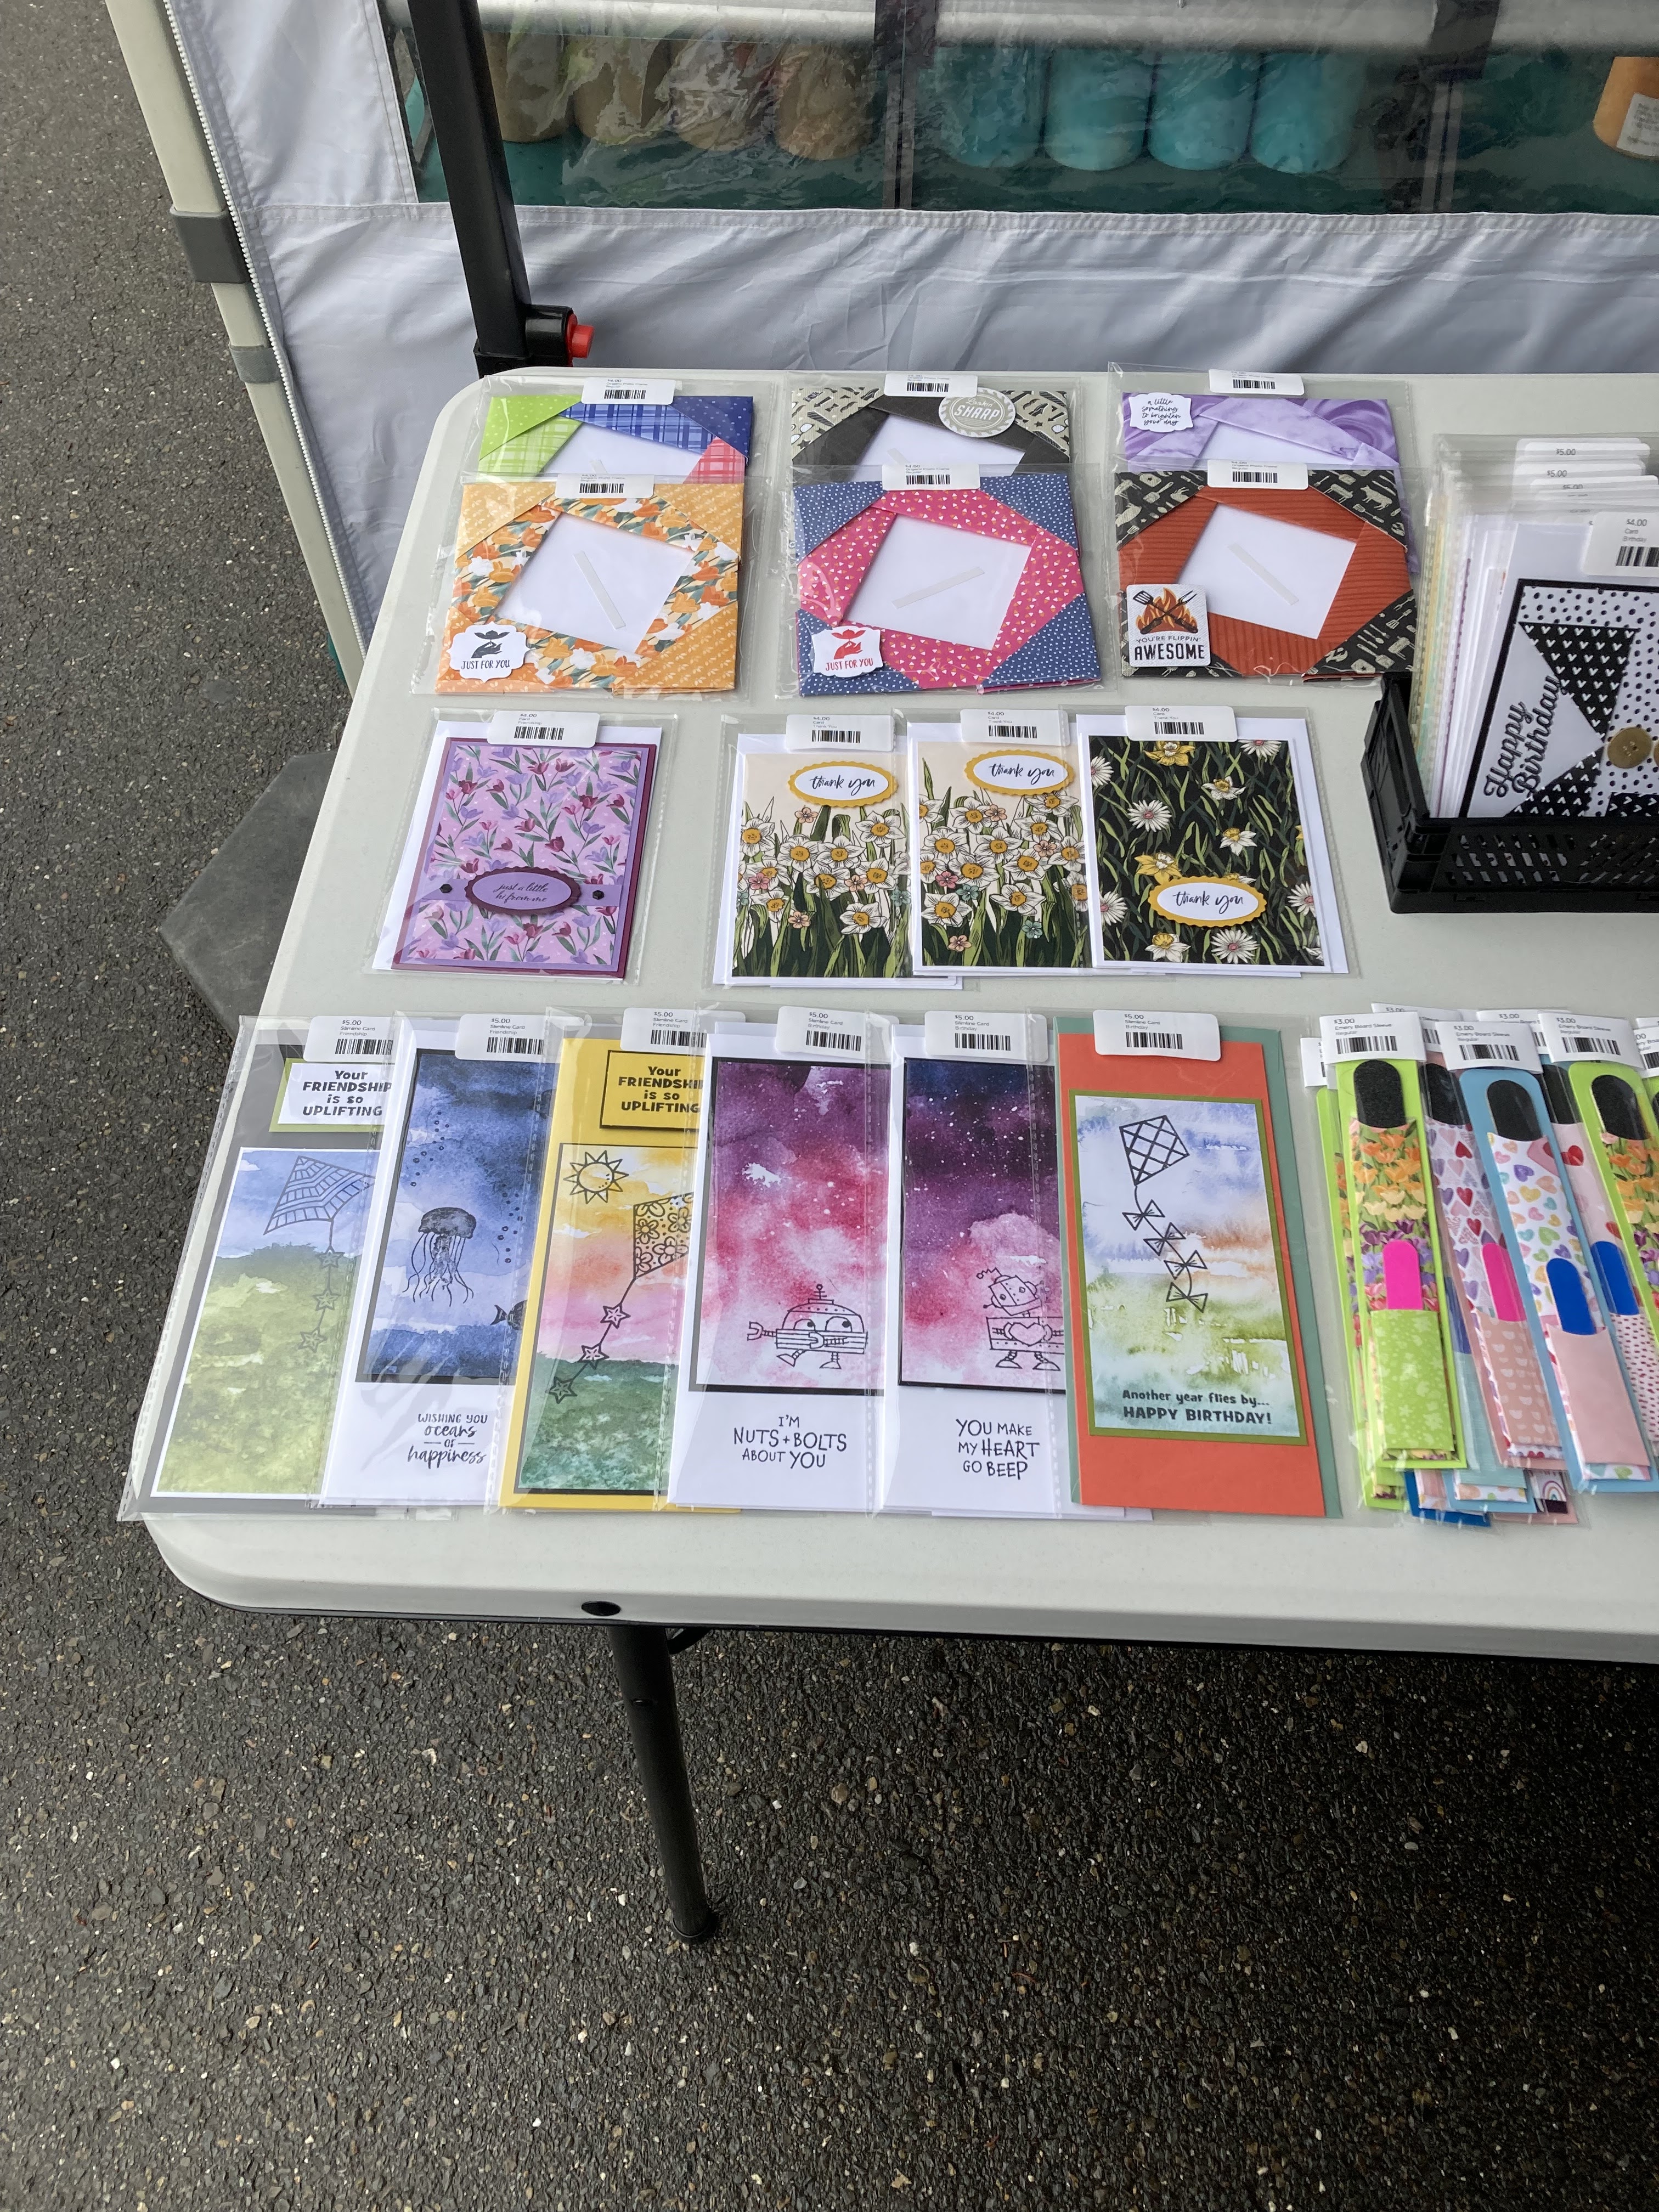
Here are my cards (I've only made the four so far)


So give it a go. Happy crafting.

Saturday 4 November 2023

Farewell Stampin' Up!

 My husband and I have retired and moved away from Woomera. I don't have a craft group any more and I have reluctantly decided to end my time with Stampin' Up! I will still be making cards and other paper-crafting items to sell at local markets. My daughters and I have started Kea Craft Creations and we will have a stall at the Meadows Markets (in the Adelaide Hills) on the second Sunday of each month, starting sometime in the New Year. I'll let you know when we start. 

My older daughter, Amber, does felting and has some sock monster kits as well. You can see some examples of Sock Monsters in my previous blog Sock Monsters. The new kits won't be exactly the same because much of the design is up to the creator and the sock. Amber won 2nd prize at the Royal Adelaide Show this year with her cute felted teapot. Amber also plans to make some Bubble Beast felting kits to sell.


Amber prize winning felting

Cute little Bubble Beasts

My seven-year-old granddaughter is following in her Auntie Amber's footsteps and won a Merit Award with her seaside sunset scene.
Lexie's award winning felting

My younger daughter, Kieran, makes beautiful resin items including serving boards, paper towel holders, coasters and some wonderful jewellery. She has recently started sewing up a storm and will have scrunchies, baby bibs, and personalised blankets available.


I have a bunch of cards plus some origami photo frames, gift boxes and emery boards holders, among other things.


We have a page on Facebook called Kea Craft Creations so please go and "like" the page. Once we get ourselves up and running properly I will let you all know.

On a housekeeping note, I will go back through my blog posts and remove the links for my Stampin' Up! shop as I no longer have that. Of course you can still go to the Stampin' Up! online shop, find a demonstrator near you and place your order online.

I will hopefully be bringing more card techniques and other papercraft items for you all. Thanks to those who supported me during my Stampin' Up! time.

Happy crafting.

Friday 17 March 2023

The Best Remedy Kit

After my mammoth card making efforts in February, I sorted my cards and discovered some 'gaps' in the variety of my cards. I have virtually no 'get well' cards. Fortunately, Stampin' Up! have a great kit of get well cards at present! The Best Remedy Kit comes with everything you'll need to make these cards, including stamps, and ink pad, the only thing you need to do is stamp on the pre-cut labels and then stick everything onto the card. It even includes pretty envelopes. Easy Peasy!


The instructions direct you to make three copies of each of the three designs. I don't like making cards the same, if possible, so I made my own versions using the same materials.

Card 1 - Original Design


Card 1 - My Versions

I chopped up one of the blue pieces and shortened the other blue piece. I kept the same stamped sentiment for all three cards.


Card 2 - Original Design


Card 2 - My Versions

It was a bit tricky to mix up this one because the heart is the central thing. But I managed it, sort of, and I used different stamps.


Card 3 - Original Design


Card 3 - My Versions

I stamped an ice cream cone inside each of these cards, but I did it in landscape instead of portrait. To fix this I stamped a cone in each corner in each direction. Looks a bit funny, but hey!


I made the other two as landscape cards to overcome the issue of the stamping inside. I had also stamped by "Made by..." in landscape as well. Doh!


So, if you want some cute get well cards, have a good look at this kit!

Happy crafting!

Tuesday 28 February 2023

February Card Challenge, Day 28

I made it to the end of the month! I missed two days through illness but I managed to make 96 cards this month. That'll keep me going for a while! Thank you for following my journey through this month. I hope you got some good ideas from my efforts.

To finish off the challenge I've made some Impossible Cards. These are a fun card that has an auto-pop-up piece on it. It lays flat in an envelope, but pops up with a message when removed from the envelope. I have featured this in my blog previously, but I've revised the instructions a little so I'll give them to you again below.

Card 1

I used Texture Chic Specialty Designer Series Paper to make this card. You need to choose paper where the two sides compliment each other as you get to see both sides. I used a sentiment from Friends Are Like Seashells Stamp Set and some cute images from Elephant Parade Stamp Set.


Card 2

This one uses He's the Man Designer Series Paper and embellishments. I made sure to make several male cards during the challenge. The die-cut pieces in this pack made my life a lot easier.


Card 3

This one uses Enjoy the Journey Designer Series Paper and Silly Goose Stamp Set.


Card 4

I finished off with Dandy Designs Designer Series Paper. I hope you managed to get this free pack of paper. Sale-a-Bration ends today and it won't be available after today. I also used Season of Chic Stamp Set again. I stamped the flower, coloured it and cut it out. I used Stampin' Dimensionals for both the flower and the sentiment label on this card. All of the other cards are attached with flat adhesive.


Measurements and Instructions

Coloured Cardstock (card base): Cut 8" x 6", scored in half at 4".

Designer Series Paper, make sure that both sides look good together: Cut 5¾" x 3¾".

1. Stamp a sentiment onto a piece of scrap cardstock and cut/punch it out.

2. Take the DSP, score at 1⅞" and fold in half longways. Whichever side of the DSP that you want for the pop-up bit, place that side out when you fold this piece.

3. Place the DSP upside down (if it matters) and cut at 2⅞" (i.e. the middle) from the scored fold to the edge of the DSP. On the opposite side cut at 1¼" from each end from the fold to the edge, as shown below.

4. Twist the piece so that you have the following shape (with the pop-up piece in the middle as well).

5. Attach this piece to the card piece. The piece can be twisted in either direction to place the 'opening' on the left or the right. Don't put any adhesive on the pop-up piece.


6. Attach the label to the pop-up piece using flat adhesive or Stampin' Dimensionals.

7. Embellish as desired.

If your DSP isn't stiff enough, I have an alternate method in my previous blog: Impossible Card (scroll down to the end).

And that ends my February Card Challenge. Thank you for joining me. I really enjoyed it and will probably miss it tomorrow, but for now I'm happy for it to be done. I may do something similar in September and make a bunch of Christmas cards.

Happy crafting.

Monday 27 February 2023

February Card Challenge, Day 27

I am so very thankful that I had some of Nancy Hoetker's Mystery Stamping instructions written down. This is the last of Nancy's cards that I'll be using and I wouldn't have had nearly enough designs without her.

I've made two each of the two designs. I'll provide the measurements and instructions below.

Card 1

I used Dandy Designs Designer Series Paper and Season of Chic Stamp Set. I love the bright colours together.

Card 2

This one uses Texture Chic Specialty Designer Series Paper and Something Fancy Stamp Set. It's cool how different Designer Series Paper can make such a difference to the look of the card.


Measurements and Instructions for Cards 1 and 2

Coloured Cardstock (card base): 14.9 x 21 cm (half A4)

Same Coloured Cardstock (band): 1.7 x 10.5 cm

Designer Series Paper - 4 different designs: 5 x 6.5 cm (You could just use 2 different designs and place them diagonally on the card front)

Basic White Cardstock (mats): 10 x 14.4 cm (cut two pieces), plus scrap for stamping

1. Add the four pieces of DSP to each corner of one of the Basic White layers. There will be a gap in the middle. [TIP: I used my Paper Trimmer to line everything up. I placed the white piece in the bottom left corner of the trimmer and then placed the DSP, butting both pieces up to the corner.]

2. Glue the band across the gap in the middle of the card and trim the ends to fit. You could use ribbon here instead. 

3. Add that Basic White/DSP/Ribbon layer to the Coloured Cardstock card base.

4. Stamp a sentiment on Basic White scrap and cut it out with dies or punches or Trimmer.

5. Create a mat for your sentiment layer using the Coloured Cardstock scrap. Adhere them together with flat adhesive. [Note: I didn't make a mat for Card 1 because the sentiment was so narrow].

6. Add the sentiment layer with Stampin' Dimensionals

7. Add embellishments, if desired.

8. Place the remaining Basic White piece inside the card with flat adhesive. You can stamp on it if you wish.

Card 3

I used Ready to Ride Designer Series Paper and Enjoy the Rhythm Stamp Set. I love the black roses.

Card 4

I used Ready to Ride Designer Series Paper again but this time I added one from the Love Cats Stamp Set.


Measurements and Instructions for Cards 3 and 4

Coloured Cardstock (card base): 14.9 x 21 cm (half A4)

Designer Series Paper: 10 x 11.9 cm

Designer Series Paper (different): 2 x 3.5 cm, cut three pieces

Basic White Cardstock (mats): 10 x 14.4 cm. 6.5 x 9.5 cm

1. Place the large DSP piece towards the bottom of the card front. There will be about 2 cm above the DSP.

2. Stamp an image and a sentiment on the smaller Basic White piece.

3. Add the 3 pieces of different DSP to the BACK of the stamped Basic White layer so that it looks like three pieces of ribbon hanging off the bottom. They can be straight, criss-crossed, however you like. I snipped the bottoms of them on Card 4 to make them look like pennants.

[TIP: To make an even V cut, snip up the centre of the piece and then cut from each corner to the top of the snip.]

4. Using Stampin' Dimensionals, add the stamped Basic White layer to the front of the card in the centre of the DSP but 5mm from the top of the card. (Note: I placed it so that the top and sides were the same distance).

 5. Add embellishments as required.

6. Add the remaining Basic White layer to the inside of the card.

Only one day to go! See you tomorrow.

Happy crafting.


Sunday 26 February 2023

February Card Challenge, Day 26

Today's card is the Zig Zag Card. It's a little finicky to make (I will apologize now for having to use sixteenths of an inch in the measurements), but looks very pretty at the end. I've used some different Designer Series Paper and stamp sets so I'll list them with the photos. I also have the measurements and instructions for these cards at the end.

Card 1

I chose to use the same DSP on the three panels for this one. This one is from Dainty Flowers Designer Series Paper. The sentiment is from Something Fancy Stamp Set.


Card 2

For this and the next two cards, I used a contrasting DSP for the middle panel (which is actually on the back of the card when it's opened out). This time I used He's the Man Designer Series Paper and one of the die-cuts from that pack as well. I placed it on the middle panel just for something different.

Card 3

This card uses Day at the Farm Designer Series Paper and Silly Goose Stamp Set. I kinda wish I'd bought On the Farm Stamp Set but fortunately the goose works well with this paper.


Card 4

Last, but not least, another card with Day at the Farm Designer Series Paper and Season of Chic Stamp Set.


Instructions

Coloured Cardstock (card base): 10½" x 8", score on the long side at 3½" and 7".

Designer Series Paper: 3¼" x 5-1/16" (front), 3¼" x 7¾" (middle), 3¼" x 6-3/16" (back).

Basic White Cardstock (insert): 3¼" x 7¾"

1. Take the card base and make a pencil mark 4" from the bottom on the left side. Cut the cardstock from that 4" mark to the top right corner of the card base. (Note: Erase all remaining pencil marks from this and the other pieces after you cut them).

2. Create one mountain fold and one valley fold. Run a Bone Folder along the edges to get a crisp fold.

3. Using the smallest piece of DSP, make a pencil mark at 3⅞" from the bottom on the left of the piece (or right if you're marking it on the back). Cut from the pencil mark to the opposite corner. Adhere to the front of the card base with flat adhesive.


Note: Check each panel against the card base before adhering it. You may find you need to trim a little bit here and there depending on how close your cuts are to where they are supposed to be. It's easy to be a little bit out. I had to trim one or two today.

4. Using the middle-sized piece of DSP, make a pencil mark at 5⅛" from the bottom on the right side (or left if you're marking it on the back). Cut from the pencil mark to the opposite corner. Adhere to the back of the card base, in the centre panel, using flat adhesive.

5. Using the largest piece of DSP,  make a pencil mark at 6½" from the bottom on the left of the piece (or right if you're marking it on the back). Cut from the pencil mark to the opposite corner. Adhere to the back of the card base with flat adhesive.

6. Take the Basic White cardstock (insert), make a pencil mark at 5⅛" from the bottom on the left side (or right if you're marking it on the back). Cut from the pencil mark to the opposite corner. Adhere to the centre panel of the card base using flat adhesive. [Note that this is a mirror image of the middle DSP piece].

7. Decorate the front of the card with a sentiment or die-cut shapes. You may also stamp on the insert if desired.

 8. This card will fit in a Slimline Envelope

Have fun with this one. I'll be back tomorrow.

Happy crafting.


Saturday 25 February 2023

February Card Challenge, Day 25

Today's card are another great way to use scraps (following the earlier blog of Starburst Cards). These cards use the Herringbone Technique and you can find out all about them in my earlier blog called (tada!) Herringbone Technique.

I used the Dandy Designs Designer Series Paper because they have a selection of designs using the same or coordinating colours. The stamp sets used are listed below each photo.

Card 1

Season of Chic Stamp Set

Card 2

Beside Me Stamp Set

That's all for today. Only 3 days left! See you tomorrow.

Happy crafting.