|
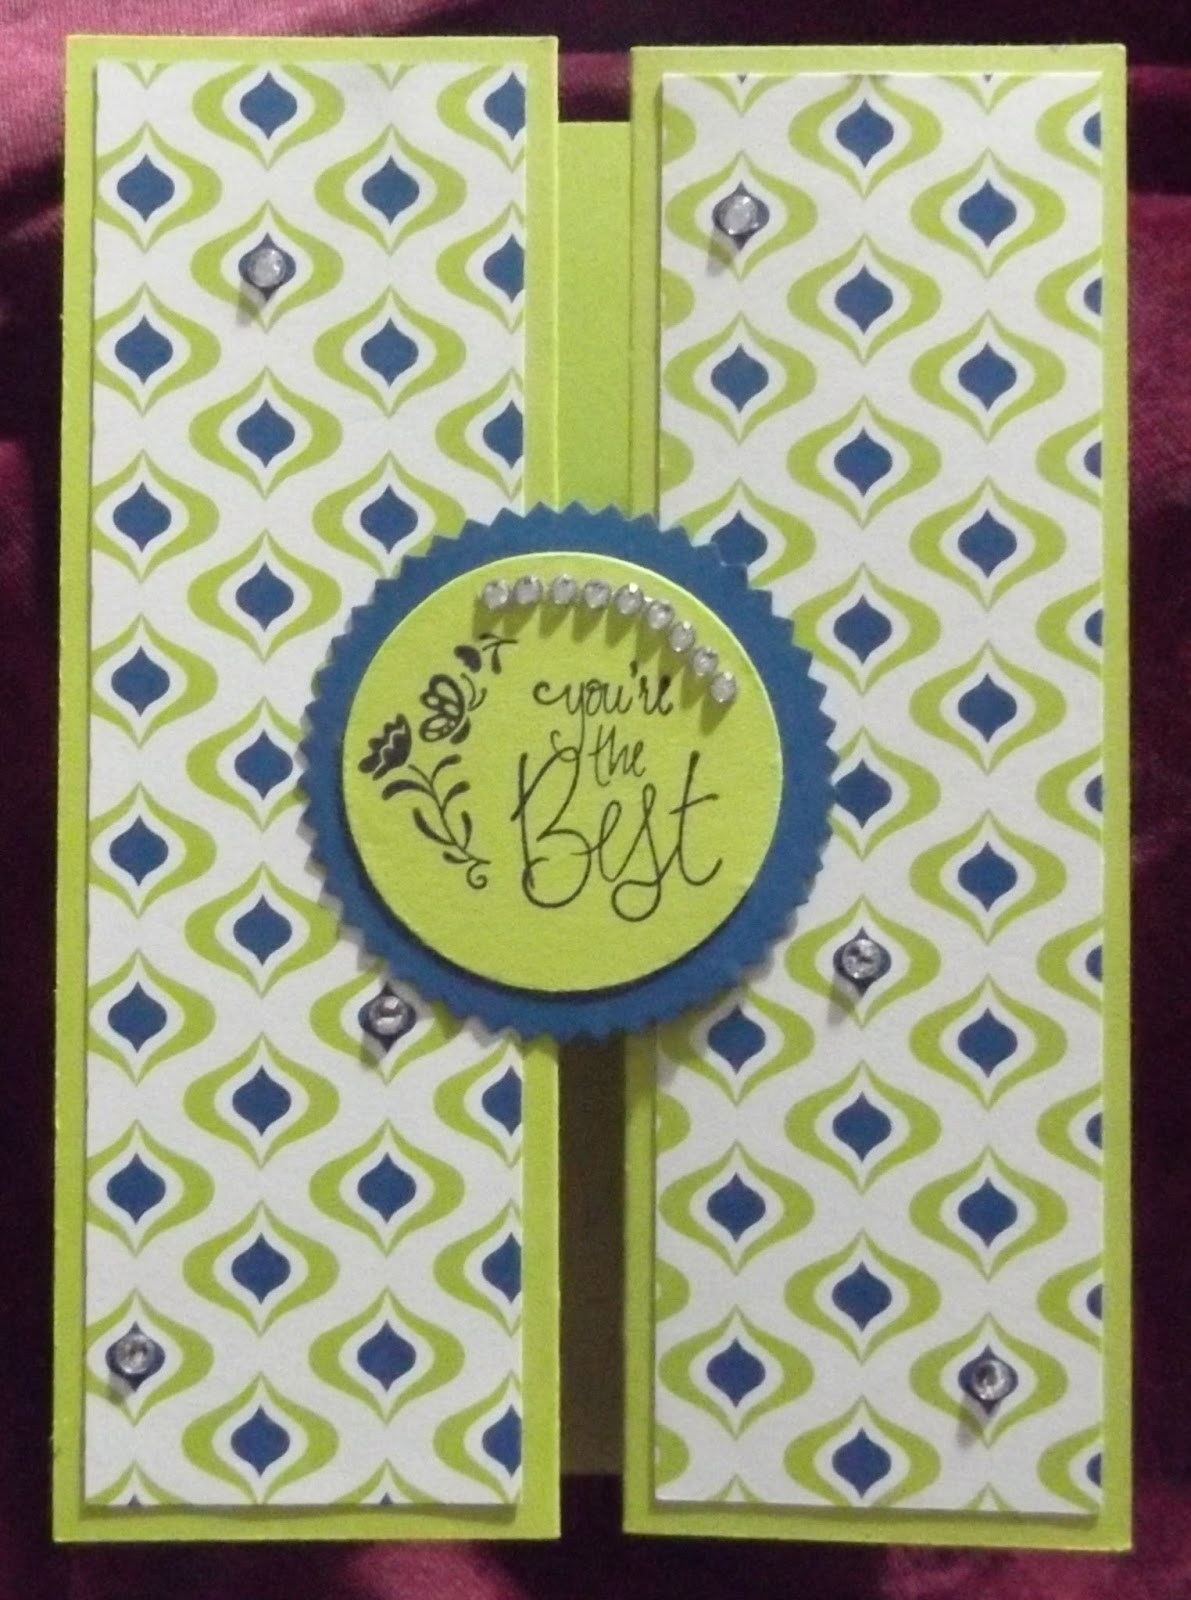
| This is the front of the card |
 |
| Open the card and here's the second 'front'. This card uses the Heartfelt Blooms stamp set. |
 |
| Open the second front to get to the inside of the card |
 |
| This is the 'perfect' girl one, everything ended up where it was supposed to be. I coloured the bear with Stampin' Blends. |
 |
| The middle section |
 |
| The inside of the card, more Stampin' Blends used for the flower. |
 |
| This is exactly the same but in blue. The middle and inside are the same as the pink version, but in blue of course. |
 |
| I forgot to put the DSP on the front... |
 |
| ... so I put it in the middle. |
On review I think I might cut an extra piece of patterned paper and put a piece on the front AND in the middle in future!
My other blue one was a little more of an 'opportunity'. When you're making this card, you only put adhesive on half of the piece on the front (otherwise it will stick to the middle and you won't be able to open it properly). Well, I put adhesive all over the back of the bear piece (oops!!). Fortunately I hadn't attached the middle piece so I was able to place the teddy bear in the middle and the sentiment on the front. Different but not too bad, considering.
 |
| Sentiment on the front |
 |
| Teddy in the middle. |
Here are the instructions for this card.
Equipment
Instructions
Materials
·
Plain coloured
cardstock (the outside card)
·
White or
other light cardstock (for the insert and the small pieces on the front and
middle)
·
Coordinating
coloured cardstock (mat for the pieces on the front and middle)
·
Coordinating
patterned paper (accent pieces) - I used Bundle of Love
·
Ribbon and/or
other embellishments, as desired
Equipment
·
Paper trimmer
·
Bone folder
·
Adhesive
·
Stamps
Instructions
1.
Cut the
coloured cardstock for the outside of the card 6⅜" x 5½", score at 2⅛" on
the long side.
2.
Cut a
piece of white or light cardstock 8" x 5¼", score at 4" on the long side.
3.
Cut TWO
pieces of the coordinating cardstock 2¾" x 4¼" (for the front and
middle of the card)
4.
Cut TWO
pieces of the white or light cardstock 2½" x 4" (for the front and middle of the card)
5.
Cut the
patterned paper:
2" x 5⅜" (for the front or middle of the card)
½" x 5¼" (for the inside of the card)
6.
Fold
and burnish the outside card and the card insert. Adhere the card insert onto
the larger side of the outside card, positioning it centrally on the back, i.e.
NOT placing the two folds snugly together.
7. Adhere the larger piece of patterned paper to the front
of the outside card. Alternatively you can adhere it to the back of that piece
of cardstock, as shown in the photo on page 1.
8. Adhere the smaller piece of patterned paper to the
inside of the card, on the right-hand edge of the insert.
9. Stamp your images or sentiments onto the
small white cards. These can be the same on both, as shown in the photos on
page 1, or they can be different, as shown in the examples below.
10. Adhere the stamped cards to the mats of
coordinating cardstock.
11. Adhere one of the stamped cards onto the
front of the middle card.
12. Adhere the other stamped card onto the front
card, lining it up to the same position as the one in the middle. Take care to
only apply adhesive to one half of this piece otherwise you will stick the
front and middle together.
13. Embellish as desired.
Ellen Budden