
 |
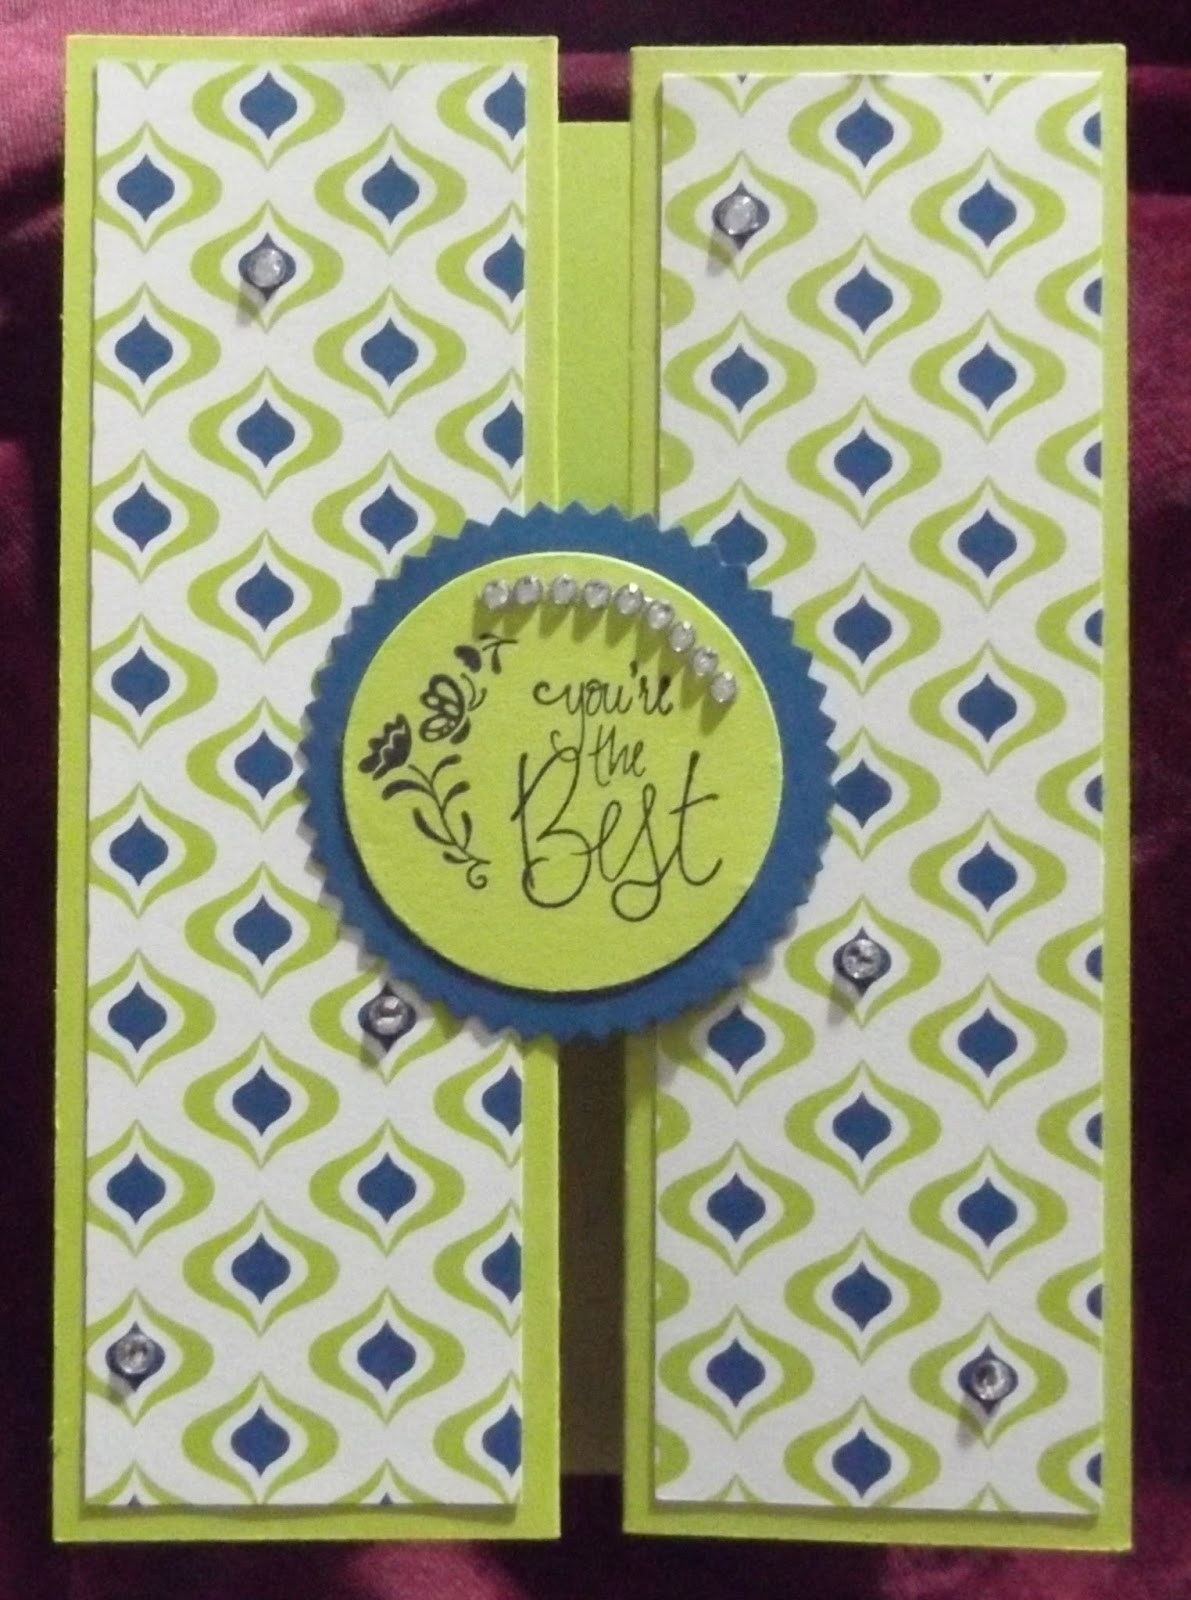
| This is the card that I made and sent to Jessie. |
I know this card as a Double Z-Fold Card. I believe that it's also known as a Gate Fold Card, or Double Gate Fold Card. It's very easy to make and is a good one for beginner card makers.
Materials
· 6" x 12"
plain cardstock, for the card base
·
6" x 6"
co-ordinating patterned paper #1 (I used Fresh Florals and Eastern Palace)
Equipment
·
Paper trimmer
Instructions
1. Score
the base cardstock across the long edge at 2", 4", 8" and 10".

2. Fold
the 4" and 8" scores inwards (a valley fold), run bone folder along
edges to get a crisp fold.
3. Fold
the 2" and 10" scores outwards (a mountain fold), use bone folder
again.
4. Cut
two pieces 1¾" x 5¾" from each of the two coordinating paper (#1 and
#2).
5. Cut
one piece 3¾" x 5¾" from the coordinating plain cardstock for the
inside or simply stamp a greeting inside the card, if desired.
6. Punch
or die cut some shapes from paper #2 (i.e. the paper that is not going on the front
panel), or labels from plain cardstock.
7. Adhere
all panels onto the card base, paper #1 on the front and paper #2 inside the card.
8. Add
the shapes and rhinestones, if desired, to the front of the card (i.e. the far
left panel and the far right panel).
Examples


Here are a couple of cards that I made back in 2015. The ingredients have since retired but they show how you can use punched or die-cut shapes to decorate the fronts of the cards


So, thanks again, Jessie, for featuring my card. Go Here to check out Jessie's blog and watch the video at the end.
Ellen Budden
Will have to try this
ReplyDeletePlease do; it's an easy one that looks spectacular to a non-cardmaker, lol.
ReplyDeleteNice
ReplyDeleteThank you.
ReplyDelete