Saturday, 17 December 2022

Slimline Cards


I have moved from my long-time (almost 40 years) home in Woomera to the serenity of the Adelaide Hills. Unfortunately it means I have moved away from my craft group as well, so I won't be posting very often, not that I was a regular/frequent blogger anyway. But if/when I try new techniques, I will try to remember to add a blog entry in case someone else would like to try it.

One of the latest trends is the Slimline Card. These cards fit into a DL/business envelope and can look really awesome. I made these ones a few months back and unfortunately the Designer Series Paper (DSP) and stamps sets were from the first 2022 Mini-Catalogue and are no longer available. But there are other DSPs that will provide the same great backgrounds. Alternate DSPs and card measurements below.

Card 1. 


DSP: New Horizons (retired)

Stamp Set: Seas the Day (retired)


Card 2


DSP: New Horizons (retired)

Stamp Set: Kite Delight (retired)


Card 3


DSP: New Horizons (retired)

Stamp set: Nuts & Bolts (retired)


Card 4


DSP: New Horizons (retired)

Stamp set: Awesome Otters (retired)


Card 5
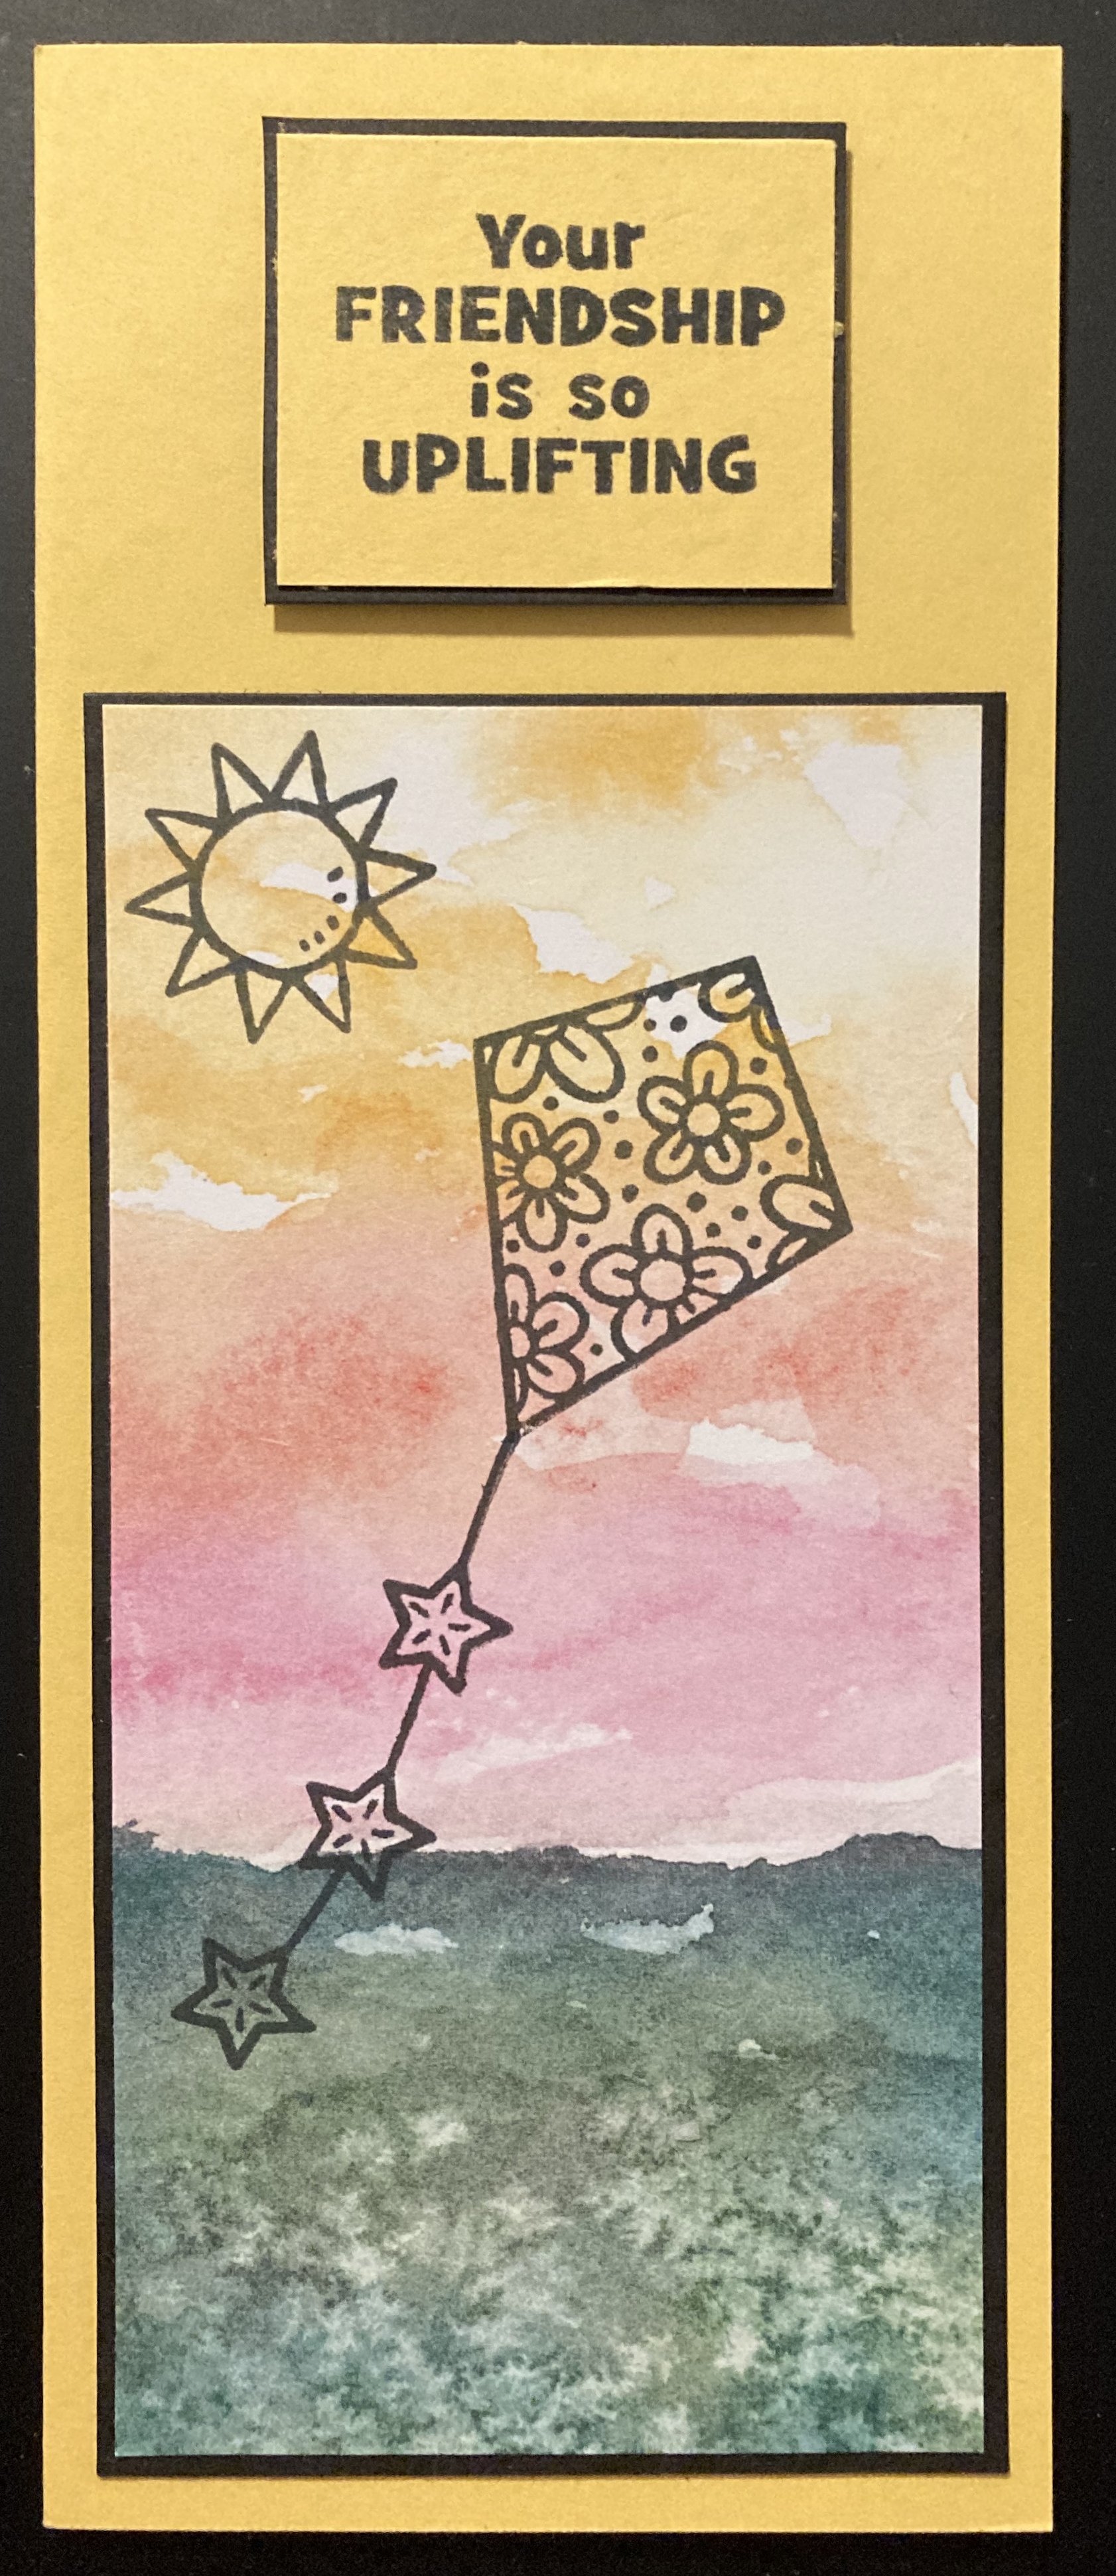

DSP: New Horizons (retired)

Stamp Set: Kite Delight (retired)


Designer Series Papers

As I said, the New Horizons DSP was fantastic for these cards. I just had to add some stamps and a sentiment and they were good to go. Thankfully Stampin' Up! make appropriately sized envelopes, Slimline Envelopes come in three great colours (Smoky Slate, Soft Succulent and white) with 5 of each colour in a pack.

Some current DSPs that would work really well, especially some of the 'backs':

Flowering Fields 12" x 12" DSP


Bloom Where You're Planted DSP


Beauty of the Earth DSP


Hues of Happiness DSP


There are others, and there are more coming up soon in the first Mini Catalogue for 2023. Keep an eye out for one called Rain or Shine! The new catalogue is available from 5 January 2023.


Card Measurements

Card base (use a cardstock that matches the DSP): 8-1/2" x 7" (fold so the card measures 8-1/2" x 3-1/2")

Mat 1 (use a cardstock that coordinates with the base and the DSP): 6" x 3"

Mat 2 (the DSP): 5-3/4" x 2-3/4" 


For a different look, try:

Mat 1 (cardstock): 8-1/4" x 3-1/4"

Mat 2 (DSP): 8" x 3"


I just stamped the sentiments directly onto the card base or the DSP, apart from the dark one - I added a label for that.

Anyway, give them a try. They're easy and they look really cute.

Happy crafting!

Sunday, 15 May 2022

Side Gate Fold Card

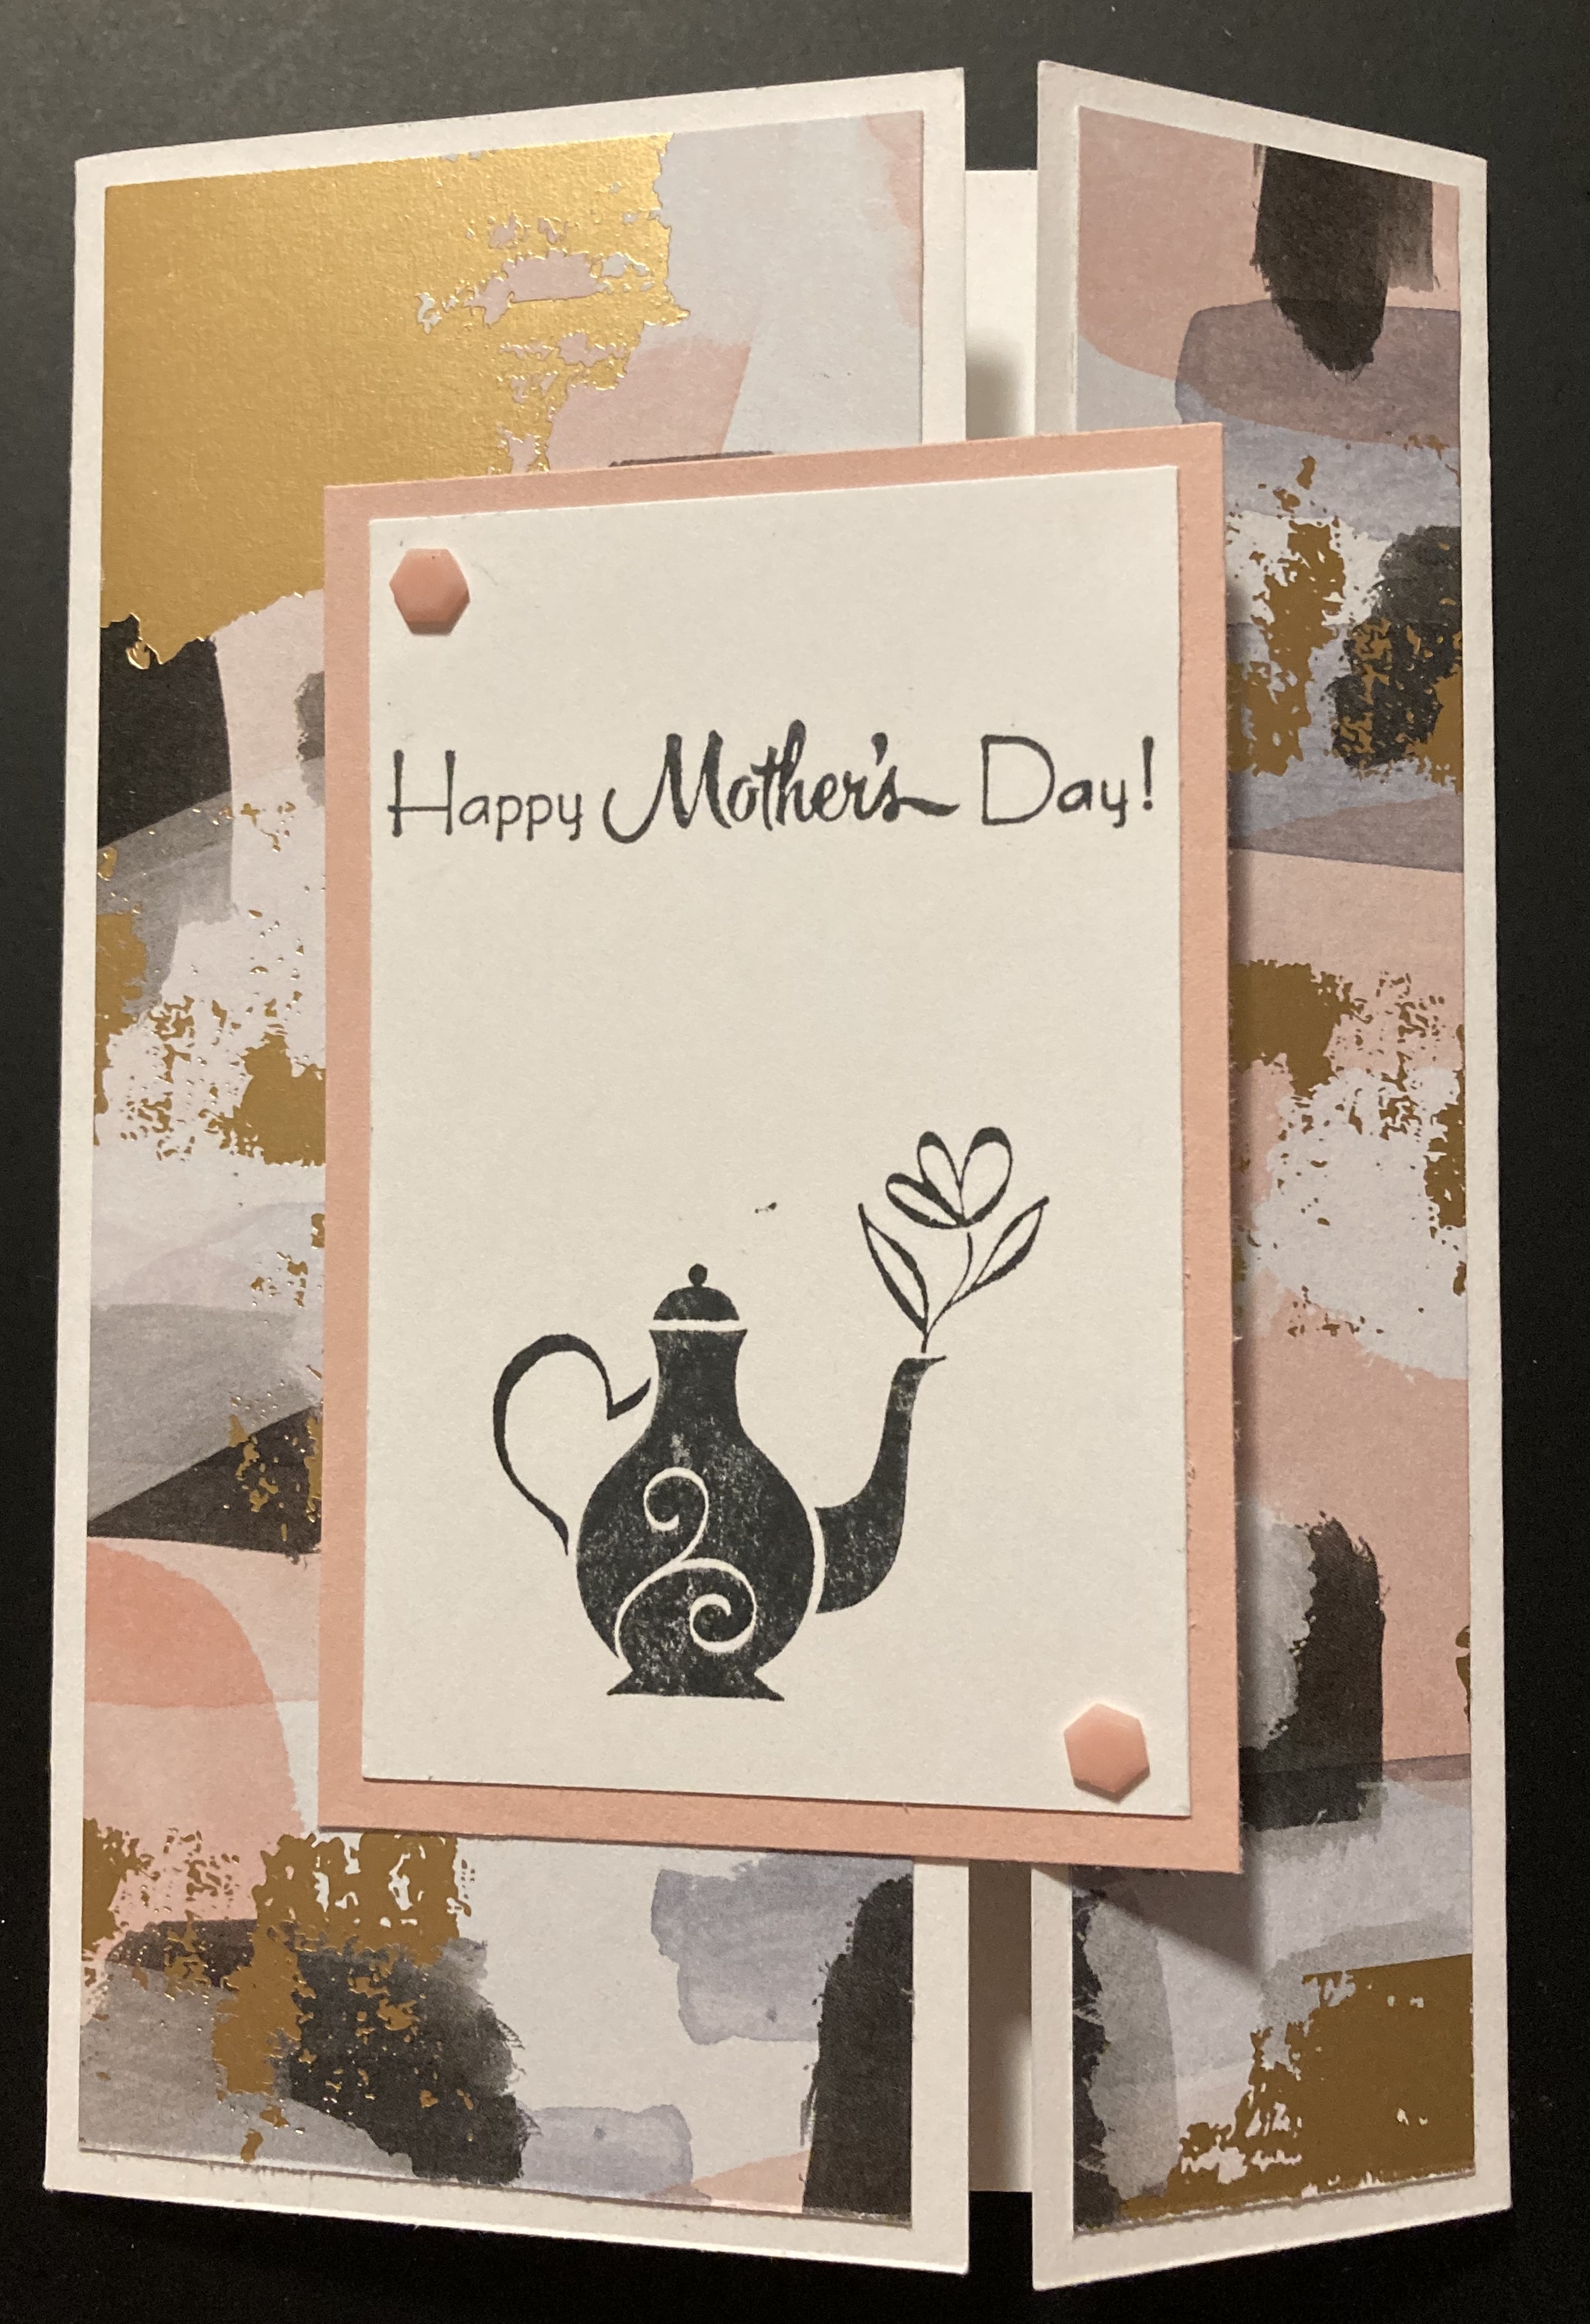
It's been a while, but here I am with a new (for me) card fold: a Side Gate Fold Card. These are really easy and not too fiddly, excellent for a quick card with a bit of pizzazz.


Click on the item names below to go to them in my online store.

Materials

Equipment

1. Cut A4 Cardstock in half (at 5-7/8" on the long side) to make the card base.

2. Score at 2-5/8" from one end and 1-1/2" from the other end. Make sure the ends meet evenly before burnishing with a bone folder.

3. Cut two pieces of Designer Series Paper (as below) and adhere them to the card front. They could be different designs as long as they coordinate.
  • 2-3/8" x 5-5/8"
  • 1-1/4" x 5-5/8"
4. Create front piece. You can make it any size or shape that you like. The one in my photo is:
  • Larger piece of cardstock (mat): 3-5/8" x 2-1/2"
  • Smaller piece of cardstock (label): 3-1/2" x 2-3/8"
5. Stamp a sentiment and image on the label and adhere to the mat.

6. Adhere the front piece to the card being careful to only place adhesive on the parts that adhere to the left (larger) side of the card. otherwise you won't be able to open the card!

7. Embellish as desired.

I made a couple of Mother's Day cards using this design. The stamp set is long retired, but I didn't have any current stamps with me that had "Happy Mother's Day" on them. This is the second card that I made.


The Designer Series Paper for both cards is from the Abstract Beauty Suite Collection (see my last blog entry). It's such a beautiful DSP having the gold highlights on it. 

I won't be blogging as often as I used to. I've moved house and don't have a craft group or classes any more. But I'll post things that I find interesting or that are new.

Happy crafting

Saturday, 15 January 2022

Abstract Beauty Suite Collection

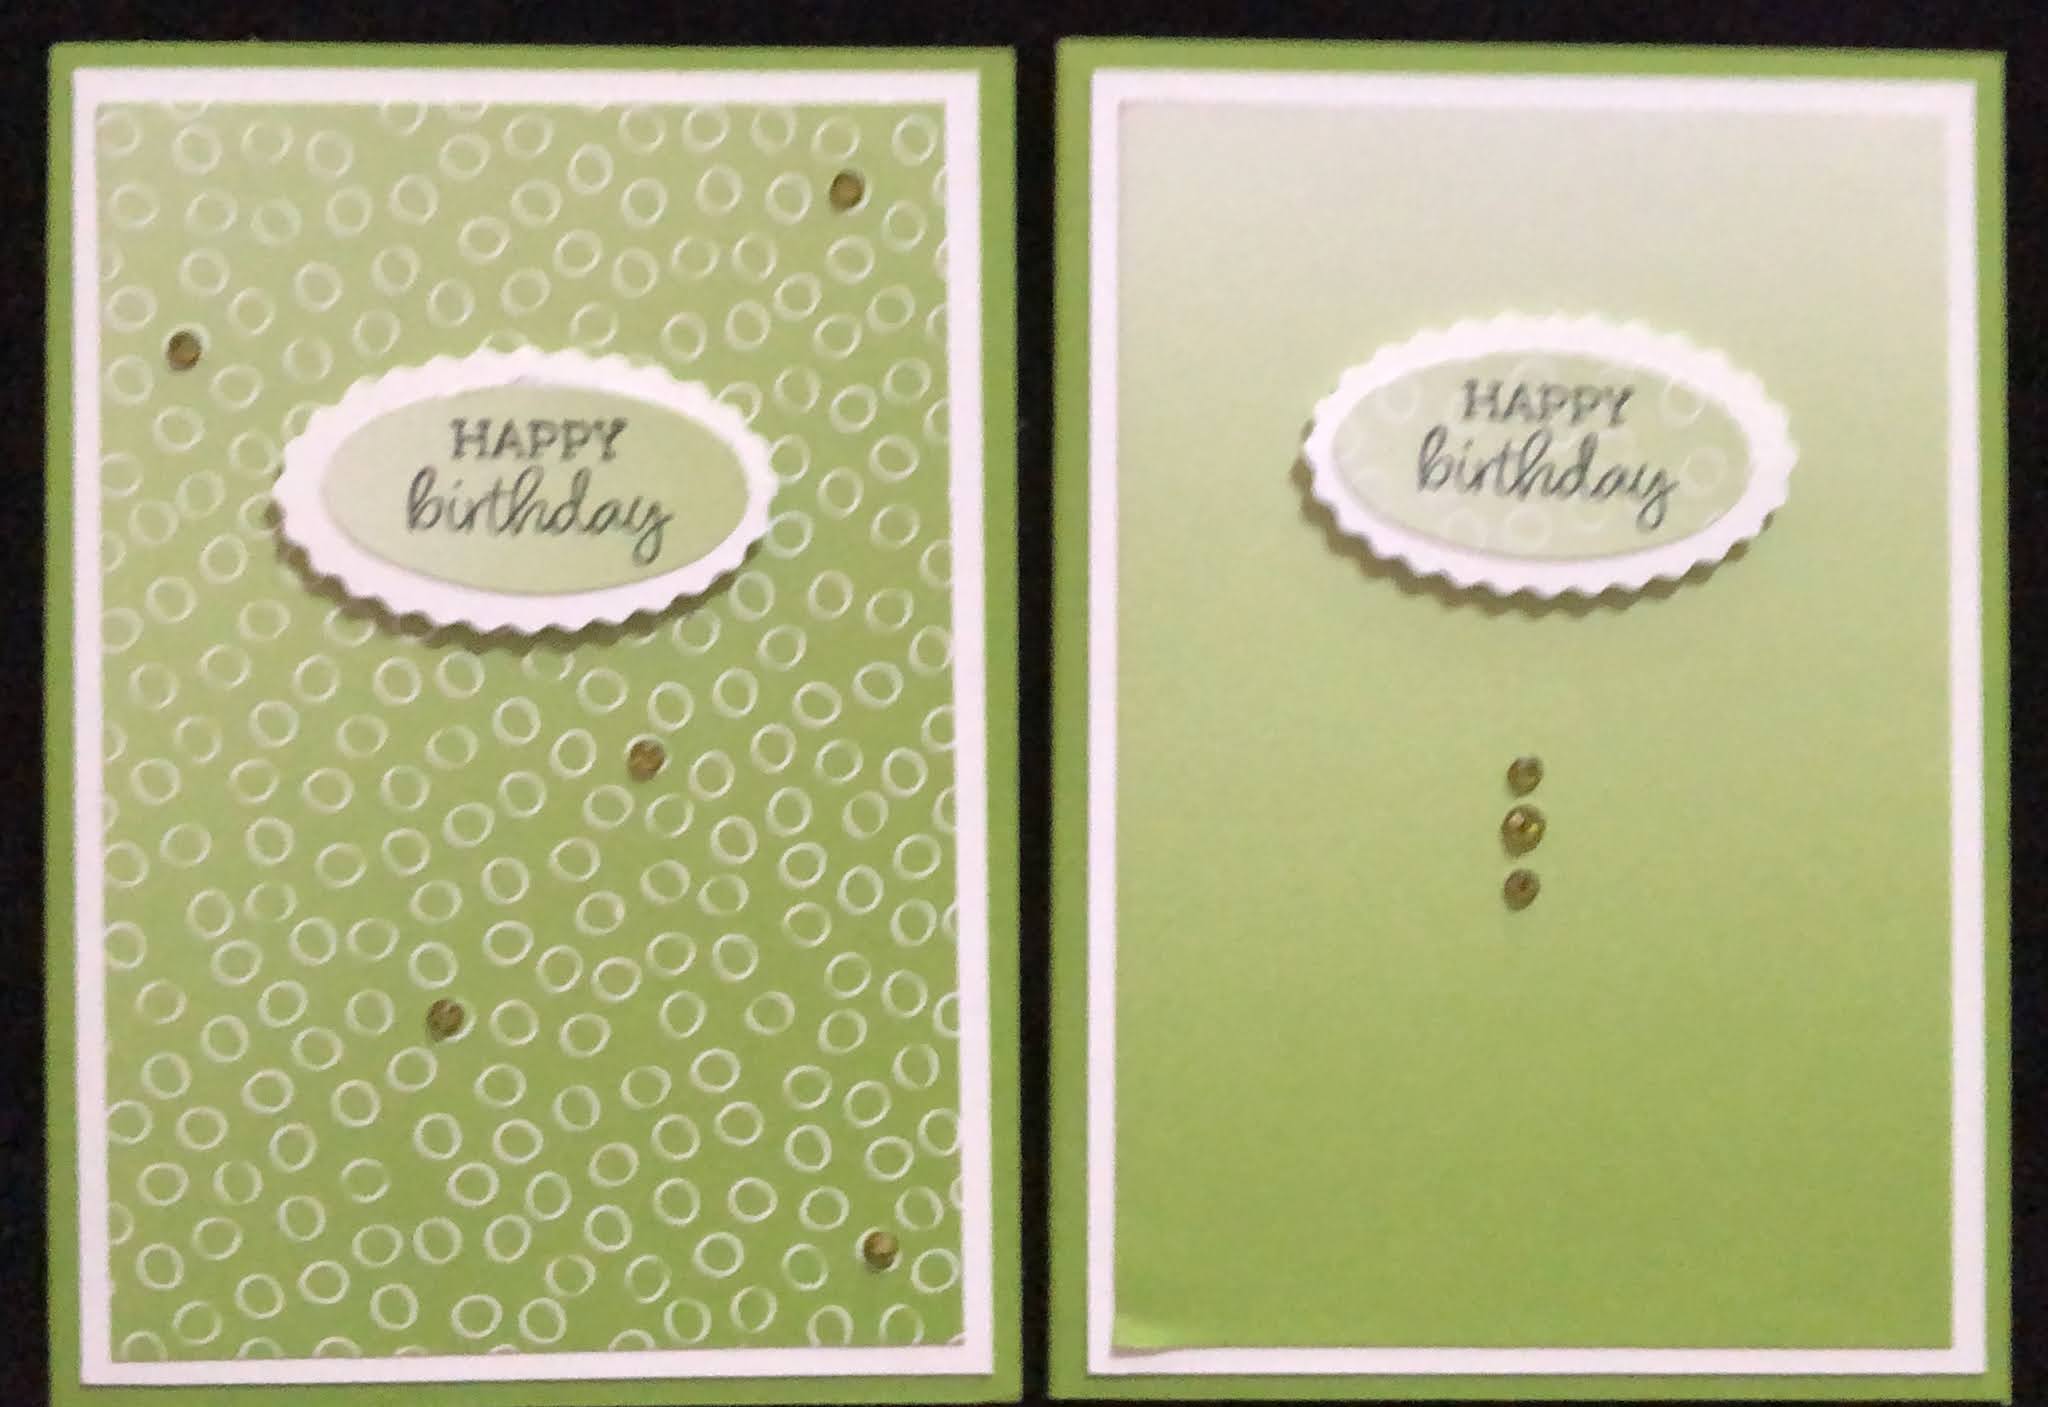
 I needed four birthday cards but am away from my craft supplies at present. Fortunately I had just received the Abstract Beauty Suite Collection (click on the name to see it in my online shop) and was able to cobble together some basic cards.


This collection contains lots and lots of cool stuff:

Abstract Beauty Cards & Envelopes
Abstract Beauty (4" x 6") Designer Series Paper
Abstract Beauty Ephemera Pack
Beautiful Shapes Dies
Hello Beautiful Stamp Set
Adhesive-Backed Hexagons

I used the Cards and Envelopes, the Ephemera Pack, the Designer Series Paper, and the Hexagons and created some pretty cards with no-so-pretty sentiments (I had to write them by hand, lol). Here's what I came up with.


The DSP is so pretty and each sheet has gold accents.


You could do worse than getting a hold of this collection and see what YOU can create!

Happy Crafting!

Thursday, 9 December 2021

Christmas Baubles

 It's been a while since I blogged anything, so I thought I'd show off my Christmas Baubles.


These are so simple to make and look quite good! You can create a template in different sizes and shapes and use them to cut out your pieces if you want, but I 'cheated' and used punches for them all, much quicker and easier.

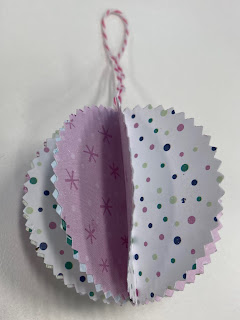
The basic instructions are simply to cut/punch eight copies of the same shape. If you want you can use two different DSPs. Glue 4 together (alternating the DSP if using two), set them aside and glue the other 4 together. Place some adhesive down the middle of one half and attach a piece of string or cord, then glue the two halves together. If you're using two DSPs, make sure your second half matches the first half so that your bauble has alternating paper all around. 

Let me show you my baubles.

Basic Bauble


I used Penguin Playmates Designer Series Paper, which was a free Sale-A-Bration item and is, sadly, no longer available.

I punched 4 of each of the two designs of DSP, and then put it together as mentioned earlier. I used the Starburst Punch (retired) to punch out the circles.

Shaped Baubles


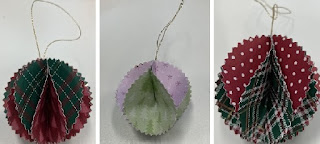
I thought that different shaped punches might make interesting baubles. From the left I used Label Me Lovely Punch, Pretty Label Punch (retired) and Scalloped Heart Punch from the Heart Punch Pack, all with with Painted Christmas DSP. I think they turned out rather well - the photos don't do them justice, although the one on the right looks more like a strawberry than a heart, haha. 


The Other Baubles


I don't know what to call these ones. When you put these together, you only glue the top third of each shape as per a Basic Bauble. After you've joined them all together, you go through and glue the bottom thirds of the ones that aren't glued. It makes sense when you're doing it. The one on the left is the first one I made (at home) using Wrapped in Plaid DSP (retired). The middle one was one I tried to make at our Craft Group night using Painted Christmas DSP, but I mistakenly glued all of the pieces together (so a Basic Bauble as above) and then went through and glued the tops and bottoms of the alternate sides. Of course it wasn't right but I decided I'd just made a new design rather than a mistake :). Then I made the one on the right with some more Wrapped in Plaid DSP (retired) to prove to myself that I could get it right. Obviously you need to choose paper that has suitable patterns or images on both sides as you get to see both sides.

I donated all of my baubles to the Woomera Community Centre Christmas tree because it only had tinsel and no decorations, lol.

Anyway, I wish you all a very Merry Christmas and a Happy and Healthy New Year.

Happy crafting!


Tuesday, 23 February 2021

Dutch Door Card

 Our craft group had a class tonight to make this Dutch Door Card. 


Here are the instructions for this specific card. As usual, click on the product names to go to that item in my online store. Thanks.

MATERIALS

Bumblebee cardstock (card base)

Ice Cream Corner Designer Series Paper (small piece for card front)

Basic White cardstock (for front and inside)

Tear & Tape or Stampin' Seal

Frosted & Clear Epoxy Droplets


EQUIPMENT

Paper Trimmer

Bone Folder

Here's a Card Cling Stamp Set

Clear Block D

Memento Tuxedo Black Ink Pad

Ice Cream Cone Builder Punch

Cherry Cobbler Stampin' Blends


INSTRUCTIONS

Card Base

1. Cut Bumblebee A4 cardstock at 5-3/4" along the long side. Note that this is slightly smaller than the usual 'half of an A4' cut for a card base; this is simply to avoid having to use sixteenths of an inch in later measurements.

2. Score at 4-1/8" on the long side (i.e. half-way across the card).

3. Place the card base in the Trimmer with the score line at 90 to the the cutting guide arm and with the left edge at 2-7/8" cut from the top to the score line.


4. Turn the card base so that the cut line is to the right and place the card base into the Trimmer with the score line directly under the cutting blade (the left edge will be at 4-1/8"). Cut along the score line down to the previously cut line. If necessary, use Paper Snips to get a clean cut at the corner.


5. This will give you two pieces like this:


Inside

1. Cut a strip of the Basic White cardstock at 3-7/8" from one of the small ends. Then using that, cut a piece 5-1/2" for the inside of the card.

2. Cut another piece 2-5/8" for the front of the card (3-7/8" x 2-5/8").

3. Adhere the larger piece inside the card.

Card Front

1. Cut a piece of the Ice Cream Corner DSP 3-7/8" x 2-5/8".

2. Attach to the lower front of the card using the inside white piece as a guide.

3. Punch the ice cream cone and a scoop of ice cream from the Ice Cream Corner DSP.

4. Stamp "Happy Birthday" at the bottom of the Basic White piece cut earlier, then adhere the ice cream cone and scoop above it.

5. Add a 'cherry' on top by colouring a Clear Epoxy Droplet with a Cherry Cobbler Blend (let it dry before attaching it to your card).


6. Adhere this combination to the front of the card. Take care to only place adhesive on the bottom of the piece so as to not glue the card shut. See the photo below for suggested positioning of the adhesive. Notice the piece of adhesive on the actual card front. This is easier than trying to figure out where to place it on the smaller piece.


And that's your card, all done!

My daughter, Kieran, used some different pieces of the DSP for her cards.


I tried some variations. You can get some quite different looks.


With this one, I used two different pieces of DSP, instead of the plain background. I'm calling this one my 'Retired Christmas Card' because I used retired DSP and a retired stamp set for this. Sorry about that! The Label Me Lovely Punch is still available though.


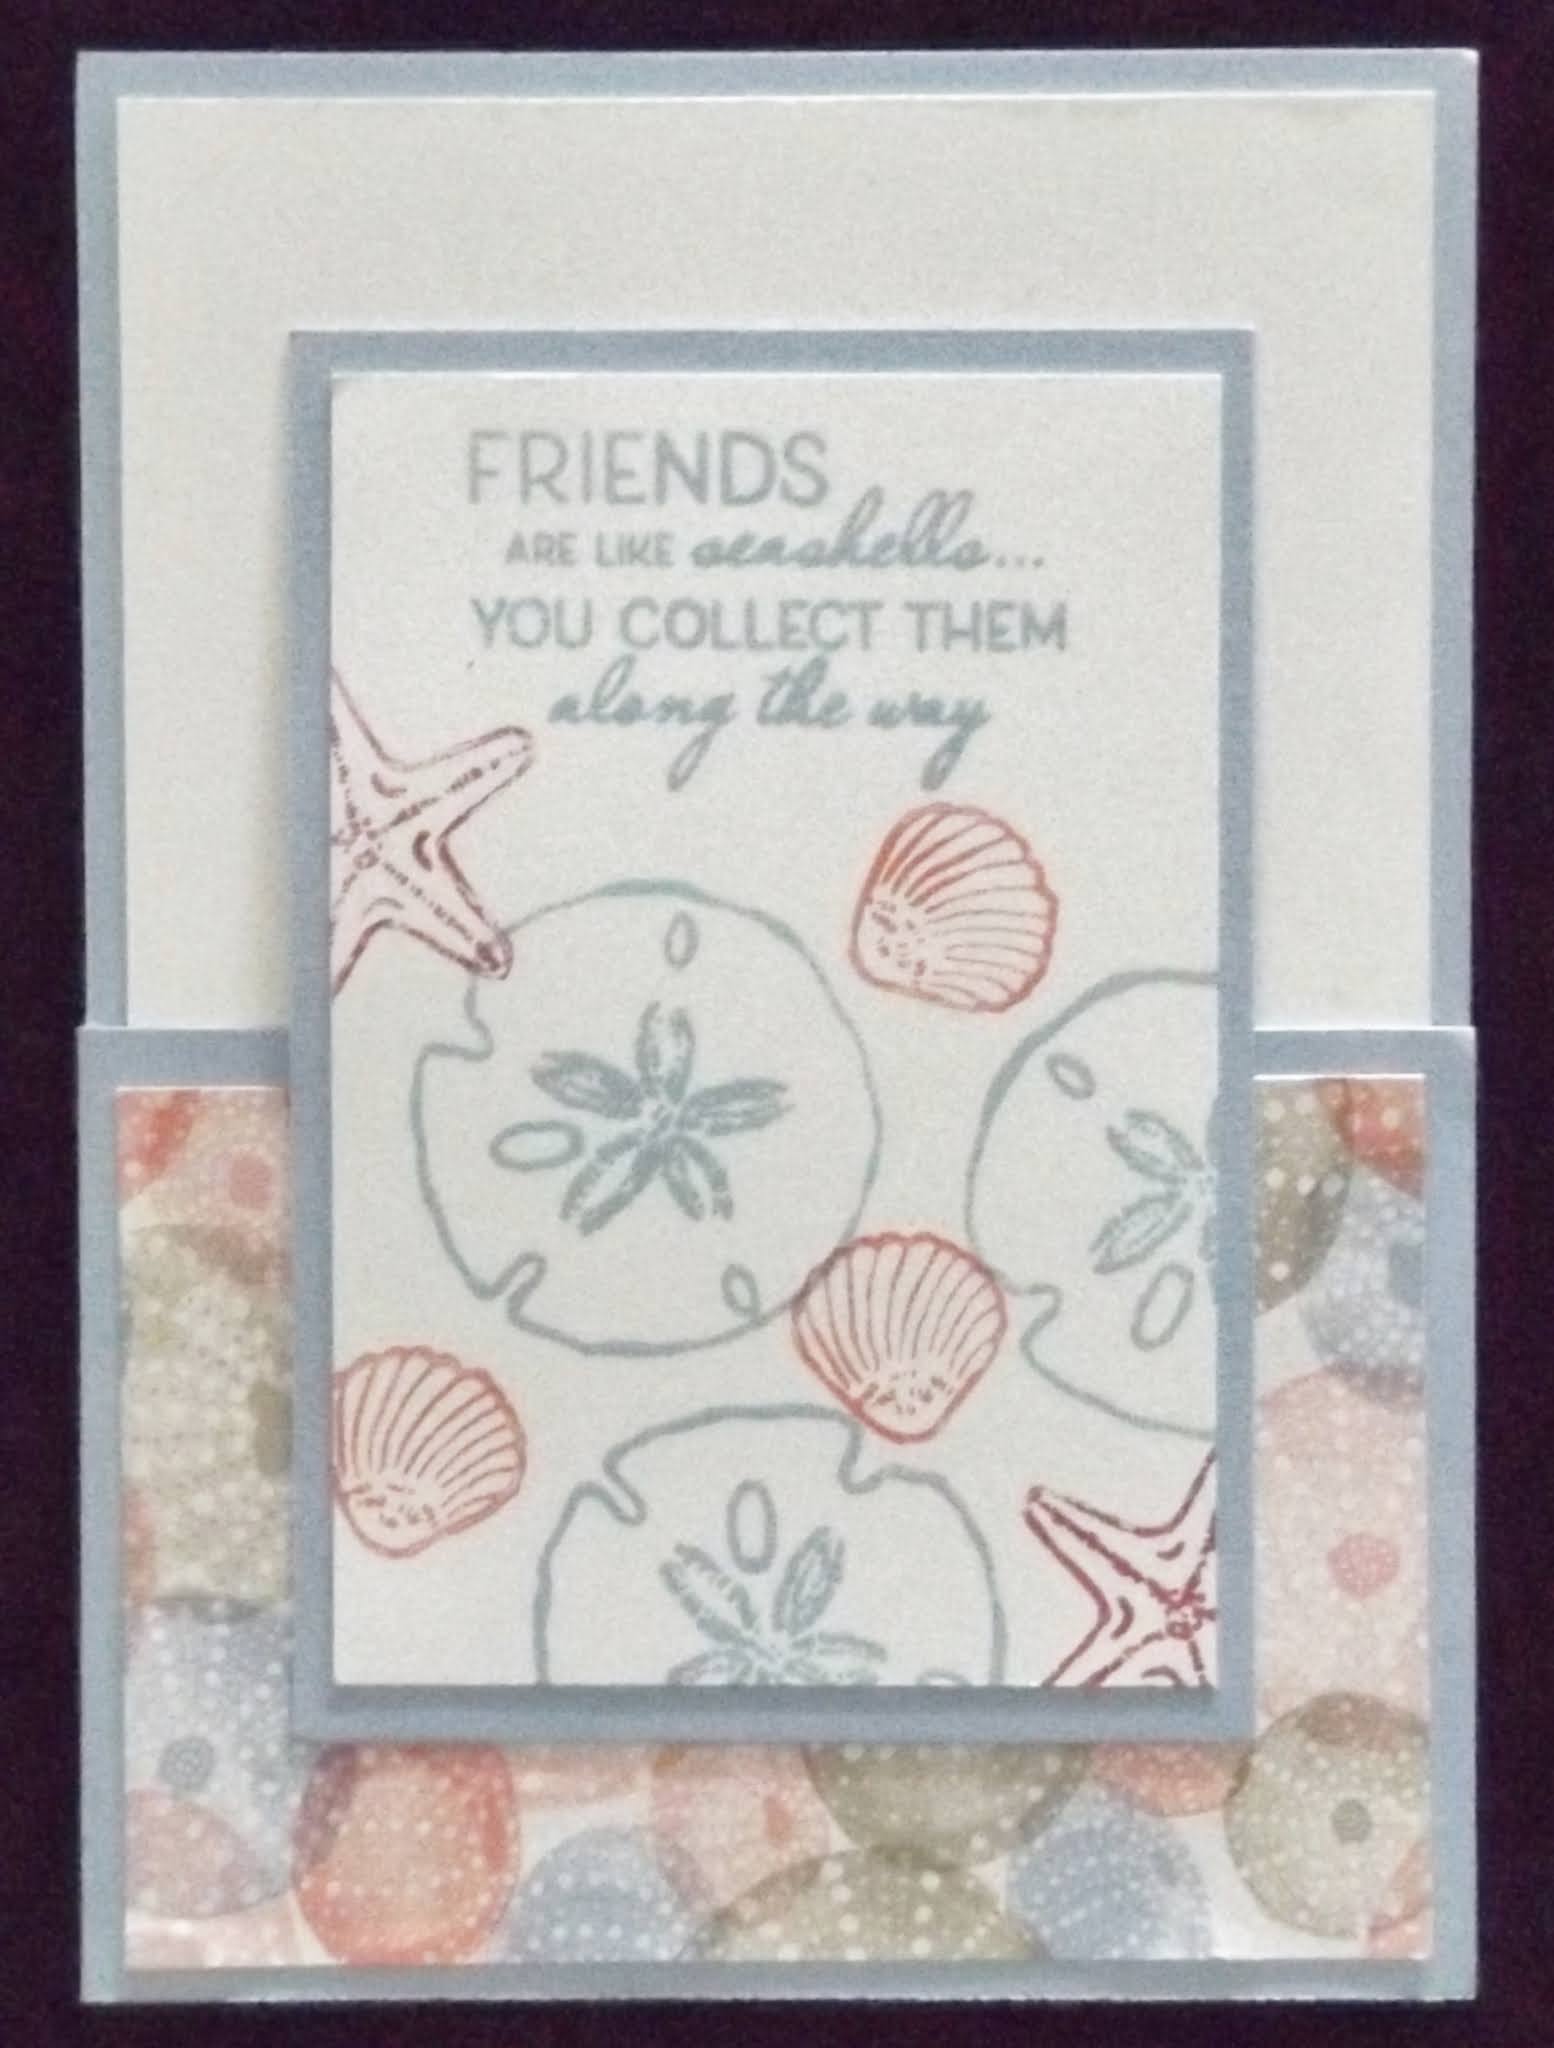
Finally, I stamped a background and sentiment using the Friends Are Like Seashells Photopolymer Stamp Set. The base is Seaside Spray A4 Cardstock and the DSP is Sand & Sea. I used these Classic Stampin' Pads: Flirty Flamingo, Melon Mambo and Seaside Spray. I love the pastel colours of this one.


I wish to thank Jessica Taylor for inspiring me with her Dutch Door Card. Please have a try, it's quite easy and just a little bit addictive!

Happy crafting.


Wednesday, 17 February 2021

You Are Amazing Project Kit

 I love Stampin' Up! project kits. They are always so easy to make and contain plenty of beautiful cards. 


This one is the You Are Amazing Project Kit that contains most of the necessary bits and pieces to make 16 cards (four each of four different designs). Everything is pre-cut, all you need to do is stamp the sentiment and assemble the cards. You will need the You Are Amazing Cling Stamp Set, plus some ink pads and some other basic bits, many of which you may already have.

Classic Stampin' Pads: Flirty Flamingo, Granny Apple Green, Mango Melody and Pretty Peacock.

Basic bits: Stampin' SEAL, Stampin' Dimensionals and Mini Glue Dots

Click on any of the product names to go to my online shop, in case you need to purchase any of these, including the kit and stamp set.

Here are close-ups of the four card designs:


So, if you're looking for quick and easy cards, you can't go past a project kit like this!

Happy crafting.


Monday, 18 January 2021

Mini Catalogue 2021-1 and Sale-A-Bration 2021-1

It's freebie time again! Stampin' Up! have changed the way Sale-A-Bration (SAB) will be held each year. Previously there was one SAB in January-March for 3 months. From 2021 onwards, there will be TWO SABs each year, one in January/February and one in July/August, that means 4 months of free stuff per annum!  Any purchase of $90 (AUD), excluding postage, from any of Stampin' Up!'s current catalogues will entitle you to one free level one SAB product. Sales of $180 will let you have two level one products or one level two product. It's all explained in the Sale-a-Bration section in my online store. The new Mini Catalogue for January-June 2021 is also available and you can see that in my online store as well. Just click on the names to go to the store.

I have a few cards to show you. I made these using a free SAB item, It's called Oh So Ombre 6" x 6" Designer Series Paper. It's a level one product, so a purchase of $90 will get you your very own pack. There are 48 sheets in the pack: 12 each of a double-sided design in four colours. All of the cards feature a new punch called Double Oval PunchThis great punch has both a scalloped oval and a smooth oval. There is a matching stamp set called Oval Occasions Cling Stamp Set that has perfectly sized stamps. You can save by purchasing both together in the Oval Occasions Bundle

So here are my cards. I've noted the colour used in each. 

Rococo Rose


Bermuda Bay


Granny Apple Green


Blackberry Bliss

Nothing fancy with this lot, but they look quite nice. Be sure to check out the links above to see what else is there.

Happy crafting!