Monday, 6 February 2023

February Card Challenge, Day 6

I managed to get four more cards made today despite having to finish off yesterday's as well. Today's cards are from Nancy's Mystery Cards again, and I actually remembered to make both designs this time. The measurements and instructions are below. 

Today I used Texture Chic Specialty Designer Series Paper, He's the Man DSP and embellishments, and Day at the Farm DSP. I also used This Birthday Piggy Stamp Set and the Silly Goose Stamp Set. I've specified below each photo which bits I used.

Design 1 - Card 1

Texture Chic SDSP
This Birthday Piggy Stamp Set

Design 1 - Card 2

Texture Chic SDSP
This Birthday Piggy Stamp Set

Design 1 - Measurements

Basic White Thick Cardstock: 14.9 x 21 cm (half A4), score for card base

Designer Series Paper: 6.5 x 14.9 cm

Instructions

1. Using the DSP, cut two 1.5 x 14.9 cm strips leaving a piece measuring 3.5 x 14.9 cm.

2. Add one thin strip to the right side of your card base. It can be to the edge or not, as you prefer. My two cards have the strips in different positions. You can use either side of the DSP. I used just one side for Card 1, but used one different side for Card 2.

3. Take the widest piece and adhere it to the left side of the card, positioned to match the right side.

4. Take the last strip of DSP and place it somewhere between the other two on the card front, either in the middle or in any position that you like.

5. Stamp your sentiment and cut to size using your trimmer or a punch.

6. Stamp an image on a Basic White scrap, colour it and cut it out with Paper Snips or a punch.

7. Add the image and sentiment to your card using Dimensionals.


Design 2 - Card 1

He's the Man DSP
He's All That Embellishments

Design 2 - Card 2

Day at the Farm DSP
This SIlly Goose Stamp Set

Design 2 - Measurements

Basic White Thick Cardstock: 14.9 x 21 cm (half A4), score for card base

Coloured Cardstock: 10 x 14.4 cm; and 1 x 9.5 cm

DSP: 6.7 x 9.5 cm

Basic White Cardstock: 9.5 x 13.9 cm

Instructions

1. Adhere the 1 x 9.5 cm coloured cardstock under the RIGHT edge of the DSP leaving half of the width visible.

2. Add the DSP/cardstock strip to the far left side of the Basic White layer.

3. Stamp a sentiment towards the top of the Basic White layer, to the right of the DSP/coloured cardstock.

4. Stamp an image below the sentiment and colour, if needed.

5. Add the Basic White piece to the coloured cardstock layer.

6. Add all the layers to the card base with flat adhesive.

7. Add embellishments, if desired.

NOTE: I used die-cut pieces for Card 1 instead of stamping.


Thanks again, Nancy, for allowing me to use your cards. 

See you all tomorrow.

Happy crafting!

February Card Challenge, Day 5

Today's cards are basic cards using pinwheel embellishments. I started making these cards yesterday, when they were supposed to be made, but a bout of gastro laid me out for the rest of the day so they didn't get finished until today.

I used two different Designer Series Papers today, details at the end. Pinwheel Embellishments are really fun to make and you can get seriously addicted to making them. I have blogged the instructions before, so if you want them, go here: Pinwheel Embellishments.

Card 1

At the Farm DSP
He's the Man DSP

Card 2

At the Farm DSP
Silly Goose Stamp Set

Card 3

He's the Man DSP
At the Farm DSP

The Designer Series Papers worked quite well together, even though I hadn't really planned to use them like that. Here they are:

He's the Man DSP is part of the He's All That Suite. The suite includes the DSP, plus stamps, dies and embellishments. The DSP also includes two sheets of die-cut embellishments that I used on two of the cards.


Day at the Farm DSP is a bright, cute and fun paper that is one of the Sale-a-Bration items and free with a $90 purchase. 


Now I need to get cracking on today's cards! See you guys tomorrow.

Happy crafting!


Saturday, 4 February 2023

February Card Challenge, Day 4

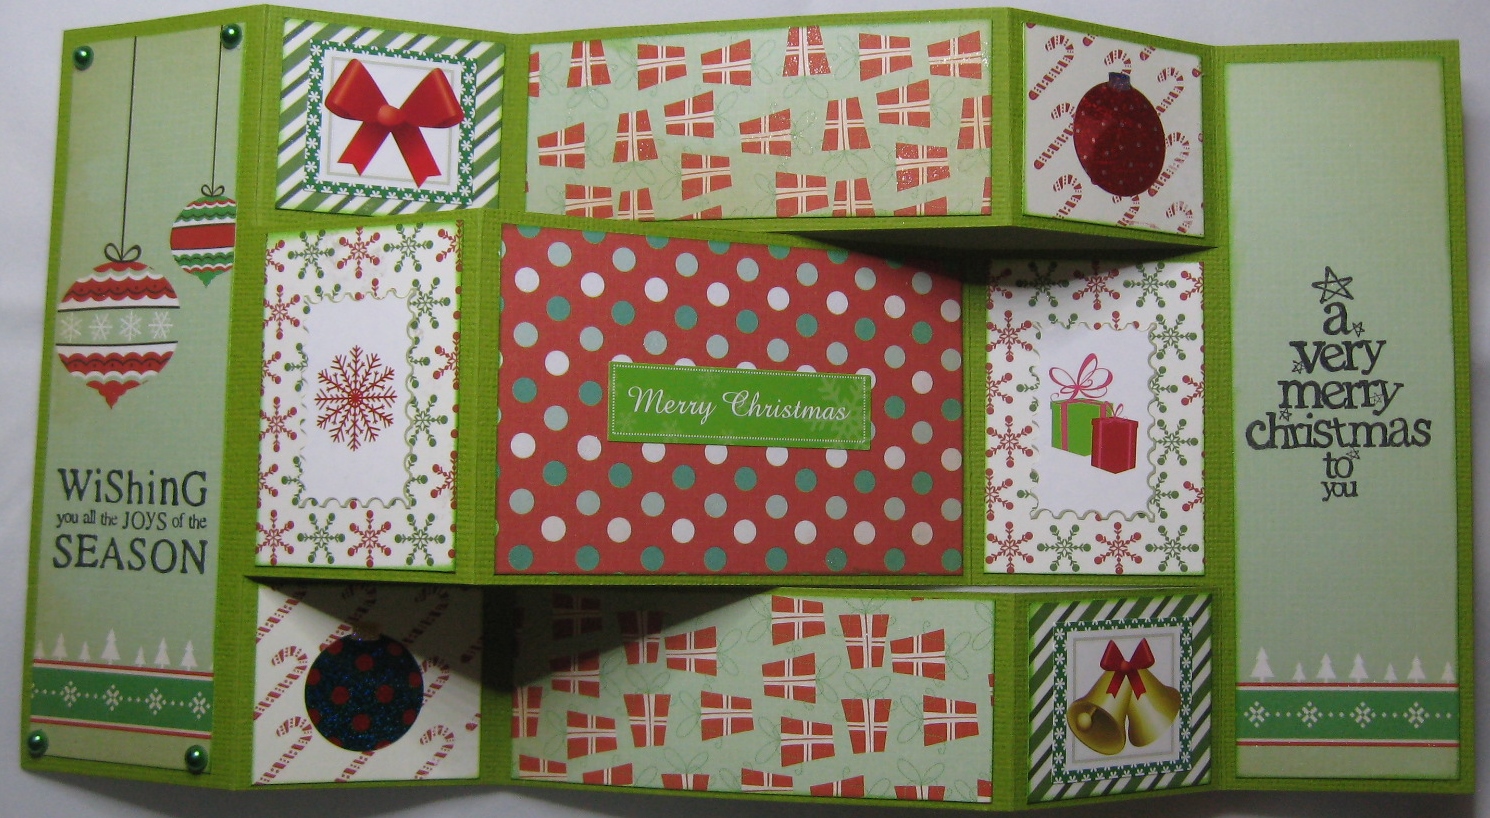
Today is the first 'tricky' card in my challenge. It's called a Tri-Fold Shutter Card and it's one of the first fun fold cards that I made. I haven't made this design in a very long time nor have I blogged the instructions before, so here are my cards followed by the instructions. I only made two cards today because they take a bit of time and after I'd made two, I couldn't face another one. The hardest part of this design is finding paper that coordinates well together.

Today's Designer Series Paper is Enjoy the Journey (same as Day 1). The stamp set is called Pure Magic and features a mermaid, a dragon and a flying horse.


Card 1


When I stamped the back panel, I discovered that I'd placed the label on the stamp upside down, so the sentiment was upside down on the card. I stamped it again, cut a little panel and glued it over the top of the upside down one.


Card 2


Again, this paper does all the hard work. That moon over the mountains is so cool.


Anyway, here is how to make this card.

Equipment

Paper Trimmer
Bone Folder
Adhesive
Stamp Set (optional)
Ink Pad (optional)

Materials

12" x 6" cardstock
Coordinating Designer Series Paper (sizes as per the list in #4)
Embellishments, as desired

Instructions

1. Score the cardstock longways as 2", 4", 8" and 10" (or just do 2" and 4" from each end).


2. Make a cut from the first score line (2") and the last score line (10") at 1-5/8" from the top. Do the same at 1-5/8" from the bottom.


3. Fold along the score lines as per the photo below. Use a Bone Folder to ensure crisp folds. There's no need to fold the centre score line on the left and right of the card as these will sit flat.


4. Cut panels of coordinating Designer Series Paper in various sizes as per the following. Use the same paper for each pair in the list. Or don't, it's really up to you.


A & B: 1¾” 5¾” (Panel B can be DSP or plain cardstock. I prefer the latter so I can write on the card)

C & F: 1¾” x 1½”

D & E:  1¾” x 1½”

G & H: 3¾” x 1½”

I & J: 1¾” x 2½”

K: 3¾” x 2½”

5. Glue the various panels into position on the card base and stamp or embellish as desired. Depending on the DSP you've chosen, you may find that you don't need much extra.

6. When the card is closed, you are able to see panels A and I, plus the right halves of panels G & H. Be aware of what you place on panels G & H. For example, don't use wording or a large image as you'll only be able to see half of it when the card is closed (see example below, it's a card I made in 2015).


7. Option: You can use a label with a stamped or printed sentiment on the front of the card, or inside the card. 


So that's it for Day 4. See you tomorrow.

Happy crafting!


Friday, 3 February 2023

February Card Challenge, Day 3

Today's design is one of my absolute favourites, the Dutch Door Card. They're easy to make and I have the instructions in an earlier blog entry: Dutch Door Card.

These cards use Flowering Fields Designer Series Paper and the Adorable Owls Stamp Set again. The DSP is retired but is still available on the Clearance Rack.


See you tomorrow!

Happy crafting

Thursday, 2 February 2023

February Card Challenge, Day 2

A fellow demonstrator named Nancy Hoetker makes monthly videos featuring a Mystery Stamping session. Nancy provides the dimensions to pre-cut the materials and then we put them all together on YouTube. I don't take part in the live version, but often watch and play along afterwards.

This design is card 1 (Nancy usually makes 2 cards each month) of the September 2021 session. I forgot that there were two cards so I made four from the first design, although I mixed it up a bit and put my own touches to them.

Today I used Dainty Flowers Designer Series Paper for all four cards. The two stamp sets are Adorable Owl Stamp Set (FREE with a $90 purchase) and Silly Goose Stamp Set. And here they are...


Materials

Coloured cardstock, scored in half: 14.9 x 21 cm (half A4)
Designer Series Paper: 9.5 x 13.9 cm (remember to orient the design according to whether you're doing a landscape or portrait card)
Different DSP (choose a more solid pattern): 2.5 x 13.9 cm
Basic White or Very Vanilla Cardstock: 2 pieces measuring 10 x 14.4 cm plus a scrap for stamping
Ribbon: 18 cm

Instructions (These are for the landscape version, adjust as required for a portrait one)

1. Add the large piece of DSP to one of the Basic White (or Very Vanilla) layers.

2. Add the small strip of DSP to the bottom of the same Basic White layer.

3. Wrap ribbon around the Basic White/DSP layer and secure on the back.

4. Add the Basic White/DSP/ribbon layer to the coloured cardstock base.

5. Stamp image on Basic White (or Very Vanilla) scrap and cut out with dies/punches/Paper Snips. If your image needs to be coloured, do that now.

6. Add stamped image to the right side of your card, on tope of the ribbon, with Stampin' Dimensionals.

7. Stamp a sentiment on a Basic White (or Very Vanilla) scrap.

8. Punch or cut sentiment layer and add to the top, left side of your card front with Dimensionals.

9. Stamp as desired on your remaining Basic White (or Very Vanilla) layer and add it to the inside of your card with adhesive.

10. Add embellishments to your card front, if desired.

Come back tomorrow for Day 3.

Happy crafting!


Wednesday, 1 February 2023

February Card Challenge, Day 1

So, it's underway, my February Card Challenge. Today I made four basic cards. Just a warning (or apology) that I may be using some retired product from time to time throughout this challenge. Click on any current products to see them in my store (for Australian viewers only).

All of these cards use A4 cardstock cut at 5-7/8" on the long side and scored/folded at 4-1/8" on the new long side.

Card 1. The first one is very basic. I used Enjoy the Journey Designer Series Paper and the now retired Kite Delight Stamp Set. 


This paper is really cool and does much of the work with its designs.


Enjoy the Journey DSP

The next three cards are all very similar. Each features a stamped square label of Basic White Cardstock that measures 2-7/8" x 2-7/8" with a 3" x 3" coloured mat behind them.


Card 2. This one uses Texture Chic Specialty Designer Series Paper and Adorable Owls Stamp Set


This paper has gold highlights and some really cool designs. 


Texture Chic Specialty Design Series Paper

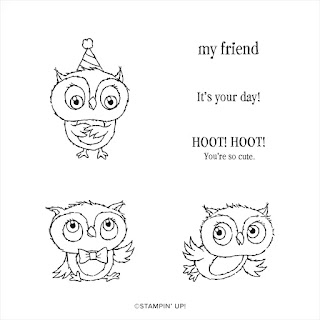
The Adorable Owls Stamp Set is one of the FREE Sale-a-Bration items. Cute, cute, cute.


Adorable Owls Stamp Set


Card 3. This one also uses the Texture Chic Specialty Designer Series Paper coupled with the Elephant Parade Stamp Set.


 My granddaughter loves elephants so I bought this one to use on cards for her.


Card 4. I used a retired DSP here, it's called Rings of Love. But there's the 'now available' Love Cats Stamp Set to go with it.


The stamp set has some sweet cats on it along with some great sentiments.

Love Cats Stamp Set


So there we have it for Day 1. See you again tomorrow!

Happy crafting.

Monday, 23 January 2023

Card Challenge in February

I'm feeling the need for some incentives this year.

I have run a Reading Challenge for several years - we have a topic each month and need to read a book that fits the topic. I also do the Goodreads Book Challenge. I have committed to read 75 books this year, same as I chose last year. I actual read 83 but decided to stick with 75 for 2023. Plus I take part in the Agatha Christie Challenge. They nominate one Christie book each month and I make sure I read it. This is the third year doing this one.

This year I decided to do a 12-month photo challenge and asked on Facebook if anyone else was interested. I now have several people taking part. We have a new topic each day and we all post our photo for the topic. It's a bit of fun and interesting to see what other people post.

But I need something to get me going, craft-wise. So I have devised a Card Challenge for the month of February. I found 28 different card designs and used a randomiser to assign one to each day in February, although I did make the 1st of the month a basic card. I will make at least 2 and hopefully 4 of each design, depending on the finickiness of the design. I have made all of the designs in the past, but some of them I haven't made for years. So, stay tuned for February. I will post the cards each day, and post the instructions or a link to a previous blog if I've posted them before. Hopefully this will be fun!


Watch this space....


Happy crafting.