Today is the first 'tricky' card in my challenge. It's called a Tri-Fold Shutter Card and it's one of the first fun fold cards that I made. I haven't made this design in a very long time nor have I blogged the instructions before, so here are my cards followed by the instructions. I only made two cards today because they take a bit of time and after I'd made two, I couldn't face another one. The hardest part of this design is finding paper that coordinates well together.
Today's Designer Series Paper is Enjoy the Journey (same as Day 1). The stamp set is called Pure Magic and features a mermaid, a dragon and a flying horse.

Card 1

 |
| When I stamped the back panel, I discovered that I'd placed the label on the stamp upside down, so the sentiment was upside down on the card. I stamped it again, cut a little panel and glued it over the top of the upside down one. |
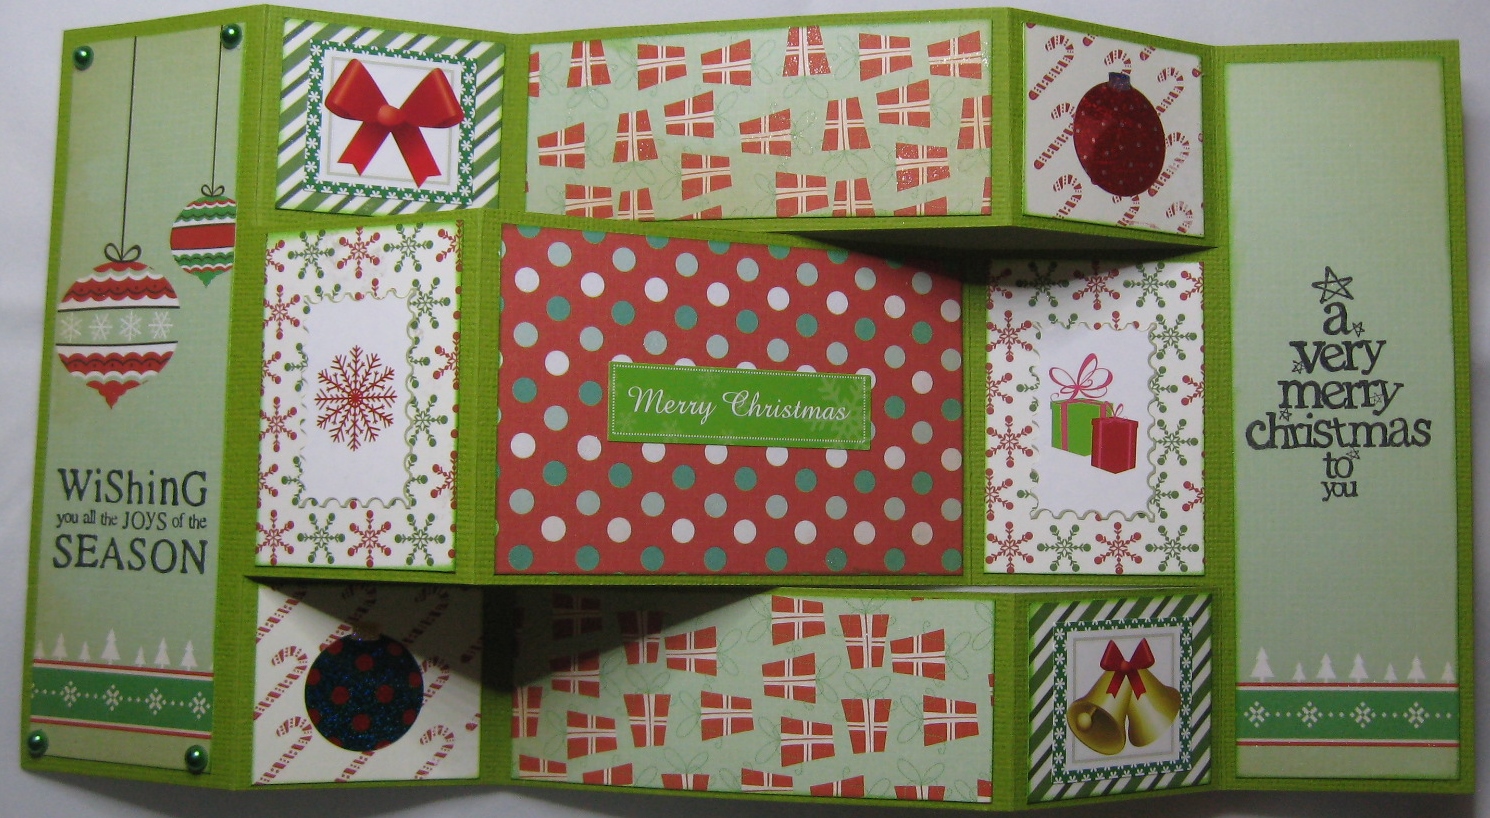
Card 2


Anyway, here is how to make this card.
Equipment
Bone Folder
Adhesive
Stamp Set (optional)
Ink Pad (optional)


A & B: 1¾” x 5¾” (Panel B can be DSP or plain cardstock. I prefer the latter so I can write on the card)
C & F: 1¾” x 1½”
D & E: 1¾” x 1½”
G & H: 3¾” x 1½”
I & J: 1¾” x 2½”
K: 3¾” x 2½”
5. Glue the various panels into position on the card base and stamp or embellish as desired. Depending on the DSP you've chosen, you may find that you don't need much extra.
6. When the card is closed, you are able to see panels A and I, plus the right halves of panels G & H. Be aware of what you place on panels G & H. For example, don't use wording or a large image as you'll only be able to see half of it when the card is closed (see example below, it's a card I made in 2015).

7. Option: You can use a label with a stamped or printed sentiment on the front of the card, or inside the card.

So that's it for Day 4. See you tomorrow.
Happy crafting!
No comments:
Post a Comment