Friday, 24 February 2023

February Card Challenge, Day 24

Once again I've used one of Nancy's Mystery Stamping sessions for inspiration. I will place the card measurements and instructions below. As usual there are two designs and I've done a landscape and a portrait version for both. 

[Edit: I just realised that I DIDN'T make a landscape version of the second design. On card 3, I stamped the sentiment to be landscape but then placed it onto the card in portrait mode. Oh well.]

The first design doesn't use DSP, just stamping.

Card 1


I've used Elephant Parade Stamp Set for this one.

Card 2

This is the Enjoy the Rhythm Stamp Set. I'm not really sold on the layout but I didn't want to cover the drums completely, lol. This is a portrait one I did a while ago. The layout looks better, I reckon.


Measurements and Instructions for Cards 1 and 2

Basic White A4 Thick Cardstock (card base): 14.9 x 21 cm, scored at 10.5 cm (half-A4)

Basic Black A4 Cardstock (mats): 10 x 14.4 cm, 7.5 x 7.5 cm, 3.5 x 7 cm

Basic White A4 Cardstock (stamping surfaces): 9.5 x 13.9 cm, 7 x 7 cm, 3 x 6.5 cm

1. Stamp a sentiment onto the smallest piece of Basic White. 

2. On the remaining Basic White layers, stamp all over with image stamps in a variety of of colours. Fill layers completely. Your card can be landscape or portrait, so stamp accordingly. 

3. Take the Basic White sentiment layer and stamp around the sentiment using just the edges of your image stamps in a variety of colours (note: I didn't do that on today's cards).

4. Adhere all of the stamped Basic White layers to the Basic Black layers with flat adhesive.

5. Add the largest layer to the Basic White Thick card base with flat adhesive.

6. Add the square stamped/matted layer to the left side of your card using Stampin' Dimensionals.

7. Add the sentiment layer to the card front by adding a Dimensional on one side and flat adhesive on the other so that it overlaps the previous layer you added with Dimensionals.

8. Add embellishments as desired.

Card 3


This one uses Enjoy the Journey Designer Series Paper and Season of Chic Stamp Set.

Card 4


I used Dandy Designs Designer Series Paper and Adorable Owls Stamp Set.

Measurements and Instructions for Cards 3 and 4 

Coloured Cardstock (card base): 14.9 x 21 cm, scored at 10.5 cm (half-A4)

Different Coloured Cardstock (mats): 10 x 14.4 cm, 6.5 x 9 cm

Designer Series Paper: 9.5 x 13.9 cm

Basic White or Very Vanilla Cardstock: 6 x 8.5 cm, 10 x 14.4 cm, and scraps

1. Adhere the 10 x 14.4 cm coloured cardstock to the card base with flat adhesive.

2. Add the Designer Series Paper to the card front with flat adhesive.

3. Stamp a sentiment in the centre of the 6 x 8.5 cm Basic White layer with ink that coordinates with the DSP or cardstock. (I actually used black for both of my cards today).

4, Adhere the stamped Basic White layers to the coloured cardstock that measures 6.5 x 9 cm.

5. Add the matted sentiment layer to the centre of the card using Dimensionals.

6. Use scraps of Basic White (or Very Vanilla) and stamp 1-2 images. Colour if needed.

7. Use dies, punches and/or Paper Snips Scissors to cut out the images.

8. Add cut out images to the card with adhesive. If touching the sentiment layer use flat adhesive and Dimensionals so layers are balanced.

9. Add embellishments as desired.

10. Adhere the remaining Basic White piece to the inside of your card with flat adhesive. You can stamp on it first if you want.

That's it for today. See you tomorrow.

Happy crafting.

Thursday, 23 February 2023

February Card Challenge, Day 23

Today's design is the Double Front Card. These are two cards in one, sort of. Each card has a front, a middle and in inside. They're very easy to make and look great (if I do say so myself). I have instructions in a previous blog: Double Front Card.

I used Dandy Designs Designer Series Paper for these cards, plus Playing in the Rain Stamp Set, Best Day Stamp Set and Elephant Parade Stamp Set. Here are my cards for today.

Card 1

I actually messed this one up just a little. The white insert should be slightly shorter than the coloured base. So the inside DSP is a little shorter than the insert. Oh well. Nobody would have known if I hadn't mentioned it, lol.

Playing in the Rain Stamp Set


Card 2

Best Day Stamp Set


Card 3

Best Day Stamp Set


Card 4

Elephant Parade Stamp Set


It's been ages since I made any of this design. They are still fun to make!

Back tomorrow.

Happy crafting.

Wednesday, 22 February 2023

February Card Challenge, Day 22

I've not been looking forward to this one as it's a bit fiddly to make, but it wasn't too bad after all. It's called a Twisted Pop-Up Card and I've included the instructions below. It's quite a spectacular card to open and people are always impressed when they do so.

Card 1

I used Ready to Ride Designer Series Paper and Something Fancy Stamp Set for this one.


Card 2

This one uses He's the Man Designer Series Paper and Beside Me Stamp Set. I also added some clouds from the Playing in the Rain Stamp Set. I coloured the images with Stampin' Blends and Stampin' Write Markers.


The inside pieces of DSP are supposed to be the same, but I put the adhesive on the wrong side of one of them. Turns out it doesn't really matter as long as the paper coordinates. Thankfully this one did :)

How To Make This Card

Note: the photos show a different card because I had already written instructions for a class a little while back.


Materials

  • 12" x 12" coloured cardstock, or 2 pieces of A4 (card base, pup-up mechanism and focal piece)
  • A4 contrasting cardstock (labels and mats, if used)
  • 12" x 6" coordinating Designer Series Paper
  • Embellishments, as desired

Instructions

1. Cut base cardstock (card base): 11" x 4¼", score at 5½" on the long side. Fold the piece into a top-fold A2 card.

2. Cut three pieces of DSP 4" x 5¼”. They can be all the same or all different or any combination thereof. Put two pieces aside for later (Step 9). Adhere the other piece to the front of the card and decorate the card front as desired. This can be done later but may be easier to do at this time while the card base it totally flat.


3. Cut plain cardstock for the pop-up mechanism, 3" x 8". Score down the centre of both sides, i.e. at 4" on the long side and 1½" on the short side.

4. Mark at 2½" from each corner with a pencil, at the top and bottom edge of the cardstock. Score an X from mark to mark. The centre of the X should match the centre of the cardstock where the other score lines intersect.


5. Burnish all score lines with a bone folder, folding both ways.

6.  Push the long centre score lines toward each other until they meet. Fold the sides back. The centre X should form triangles front and back, with the folded sections inside, and the folded edges together. The folded pop-up mechanism should look like the second photo.


7. Mark the centre point on the fold of the card base at 2". Centre and adhere one side of the pop-up mechanism, gluing only the triangular area. Close the card to be sure the point does not interfere with the fold. Make sure that the insert is straight (check the sides of it against the sides of the card).


8. Add adhesive to the triangle facing upward, and close the card to adhere it into place. Allow the glue to dry, and test the pop-up mechanism by opening and closing the card.


9. Take the two pieces of DSP cut earlier (in Step 2) for the inside of the card (both should be 4” x 5¼"). Mark at 2” on one short side and 2” down on each side. Be aware of which way up the pattern needs to be. Cut from the side points up to the centre point to shape panels that will fit inside the card and cover up the central part of the pop-up mechanism.


10. Adhere the panels to the inside of the card.


11. 
 Cut cardstock for the focal piece, 3¾" x 11”.

a.      Score at 2¾" from each end on one side.

b.      Flip the cardstock to the right side and score at 5½".

12. Fold the panel into a W shaped booklet and burnish the folds.


13. Cut four pieces of contrasting cardstock, 2½" x 3½”. This, coincidently, is the same size as an ATC, so you could use ATCs you have received, or make a series of related ATCs and use them here. You could also just use pieces of DSP on the panels, if you want. 


14. To assemble the card, centre the booklet at the top of the open card (this is the back of the card front), with the opening upwards just inside the edge, and the back ‘page’ facing up. In the photo below, the top of the booklet is to the right. Place it at the top of the card so that it opens fully when the card is opened, and make sure it’s centred across the card.


15. Close the card to see where the mechanism meets the booklet. Place some adhesive on the left side of the mechanism and close the card and wait for it to dry. It's best to use Multipurpose Liquid Glue to allow for a little movement.

16. Now place the mechanism BEHIND the booklet and repeat as above.


17. Close the card, making sure the mechanism folds the right way. Press down to secure the adhesive and allow the project to dry completely.

18. Cut a piece of light or white cardstock 2" x 3" and adhere it to the bottom of the opened card (for writing your message onto).

19. Embellish as desired.

The card will fit in a standard A2 envelope. Depending on the thickness of the layers, it may need extra postage.

Have a try, it does look really good. If you have any problems, let me know and I'll try to help.

Back tomorrow.

Happy crafting.


Tuesday, 21 February 2023

February Card Challenge, Day 21

I went a little off-track today. Instead of making the cards from my list, instead I used the Saying Thanks Kit to make nine thank you cards. I love Stampin' Up! kits. They usually include everything you need to make the cards. This one would suit beginners. There is no stamping involved, just punch everything out from the pre-cut die sheets and then build your cards. The idea with this kit is to make three copies of three different designs. I like to mix things up though, so my cards are different.

Cards 1-3 (Design 1)

The original design is the card top left. I changed it to a landscape card and then switched the sentiment from design 2.

Cards 4-6 (Design 2)

The original design was the same as the two at the bottom. I changed the third one by using some of the pieces from design 3.

Cards 7-9 (Design 3)


None of these are the recommended design, haha. The original design called for the heart sheet as used on the middle card, plus the "I appreciate you" as used on the other two. When I used that sheet on the other card front, I thought about putting Mini Stampin' Dimensionals on each of the hearts and leaving the hearts on the card front instead of the heart sheet. I think they look much better.

Now I have some leftover hearts to use on some other cards at some point.

By the way, my wrist is much improved, yay! Back with more tomorrow. 

Happy crafting.


Monday, 20 February 2023

February Card Challenge, Day 20

Today I based my cards on Nancy's first Mystery Card video. Being her first, she only used one design. The original design used a white card base but I've chosen to use a coloured card base. Measurements at the end

The DSP I used today is the ever-popular (with me) Texture Chic Specialty Designer Series Paper. Minimal stamping again, just a couple of sentiments from the Something Fancy Stamp Set.

Card 1


Card 2


They actually look better in real life, the flash has washed out some of the colour.

Basically there are three panels of DSP plus the sentiment panel and you just adhere them to the card base. I used Stampin' Dimensionals for the sentiment panels.

Coloured Cardstock 

Card Base: 14.9 x 21 cm, scored at 10.5 cm (half A4)

Mats: 6.8 x 13.9 cm, 5.8 x 12.4 cm, 3.8 x 9 cm, 3.5 x 6 cm.

Basic White Cardstock 

Main mat: 14.4 x 10 cm

Sentiment Label: 3.2 x 5.7 cm

Designer Series Paper (Three different designs): 6.5 x 13.6 cm, 5.5 x 12.1 cm, 3.5 x 8.7 cm. Be aware of whether the pieces will be portrait or landscape.

Instructions

1. Adhere the DSP pieces to their respective mats

2. Stamp the sentiment onto the small piece of white cardstock, then adhere it to its mat.

3. Place the largest DSP layer to the left side of the card. 

4. Place the middle DSP layer to the right side of the card.

5. Place the small DSP layer somewhere in the middle area of the card, either portrait or landscape.

6. Place the sentiment layer wherever you want it. As I mentioned, I used Stampin' Dimensionals to give it a bit of height.

So that's it for today. I don't know if it's all the card-making but my right wrist is giving me grief. I'll persevere for now, fingers crossed it will get better quickly.

See you tomorrow.

Happy crafting.


Sunday, 19 February 2023

February Card Challenge, Day 19

Another fun fold card today, this time it's called a Joy Fold Card. I don't know who comes up with these names, but as long as everybody calls them by the same names, I guess it works. I have previously blogged this one, so go here for all the measurements and instructions: Joy Fold Card.

I used He's the Man Designer Series Paper for both of my cards today. I think they turned out quite well, and the embellishments make them look super good.

Card 1


Card 2


I meant to made a portrait version but forgot. Oh well. You can see an example on my previous blog entry.

Back tomorrow.

Happy crafting.

Saturday, 18 February 2023

February Card Challenge, Day 18

The first card that I ever taught in a class was this card, the Double Z-Fold Card. I had a group of total beginners and they all handled it beautifully. I have instructions in a previous blog: Double Z-Fold Card. I'm still missing my punches (they're in a box somewhere) which is a shame because punched-out pieces look good with this style of card. I did fussy-cut one flower though. I'll include some links for the various DSPs and Stamp Sets at the end.

Card 1

I messed up a little with the folding of this card. You need to make sure that the folds go right to the score lines or you get a card like this that doesn't close properly. It's a real shame because the paper would have looked so good without the white stripe down the middle!

Card 2

Enjoy the Journey DSP

Enjoy the Journey DSP
Something Fancy Stamp Set

Card 3

Dainty Flowers DSP
Season of Chic Stamp Set

Dainty Flower DSP
Season of Chic Stamp Set

Card 4

Dainty Flowers DSP

Dainty Flowers DSP
Playing in the Rain Stamp Set

I used the new Small Blending Brushes to add some smudges of colour to that last one. They look like sponges but they are made of super-fine bristles. So good to use.


The DSP that I used today are Enjoy the Journey Designer Series Paper and Dainty Flowers Designer Series Paper.

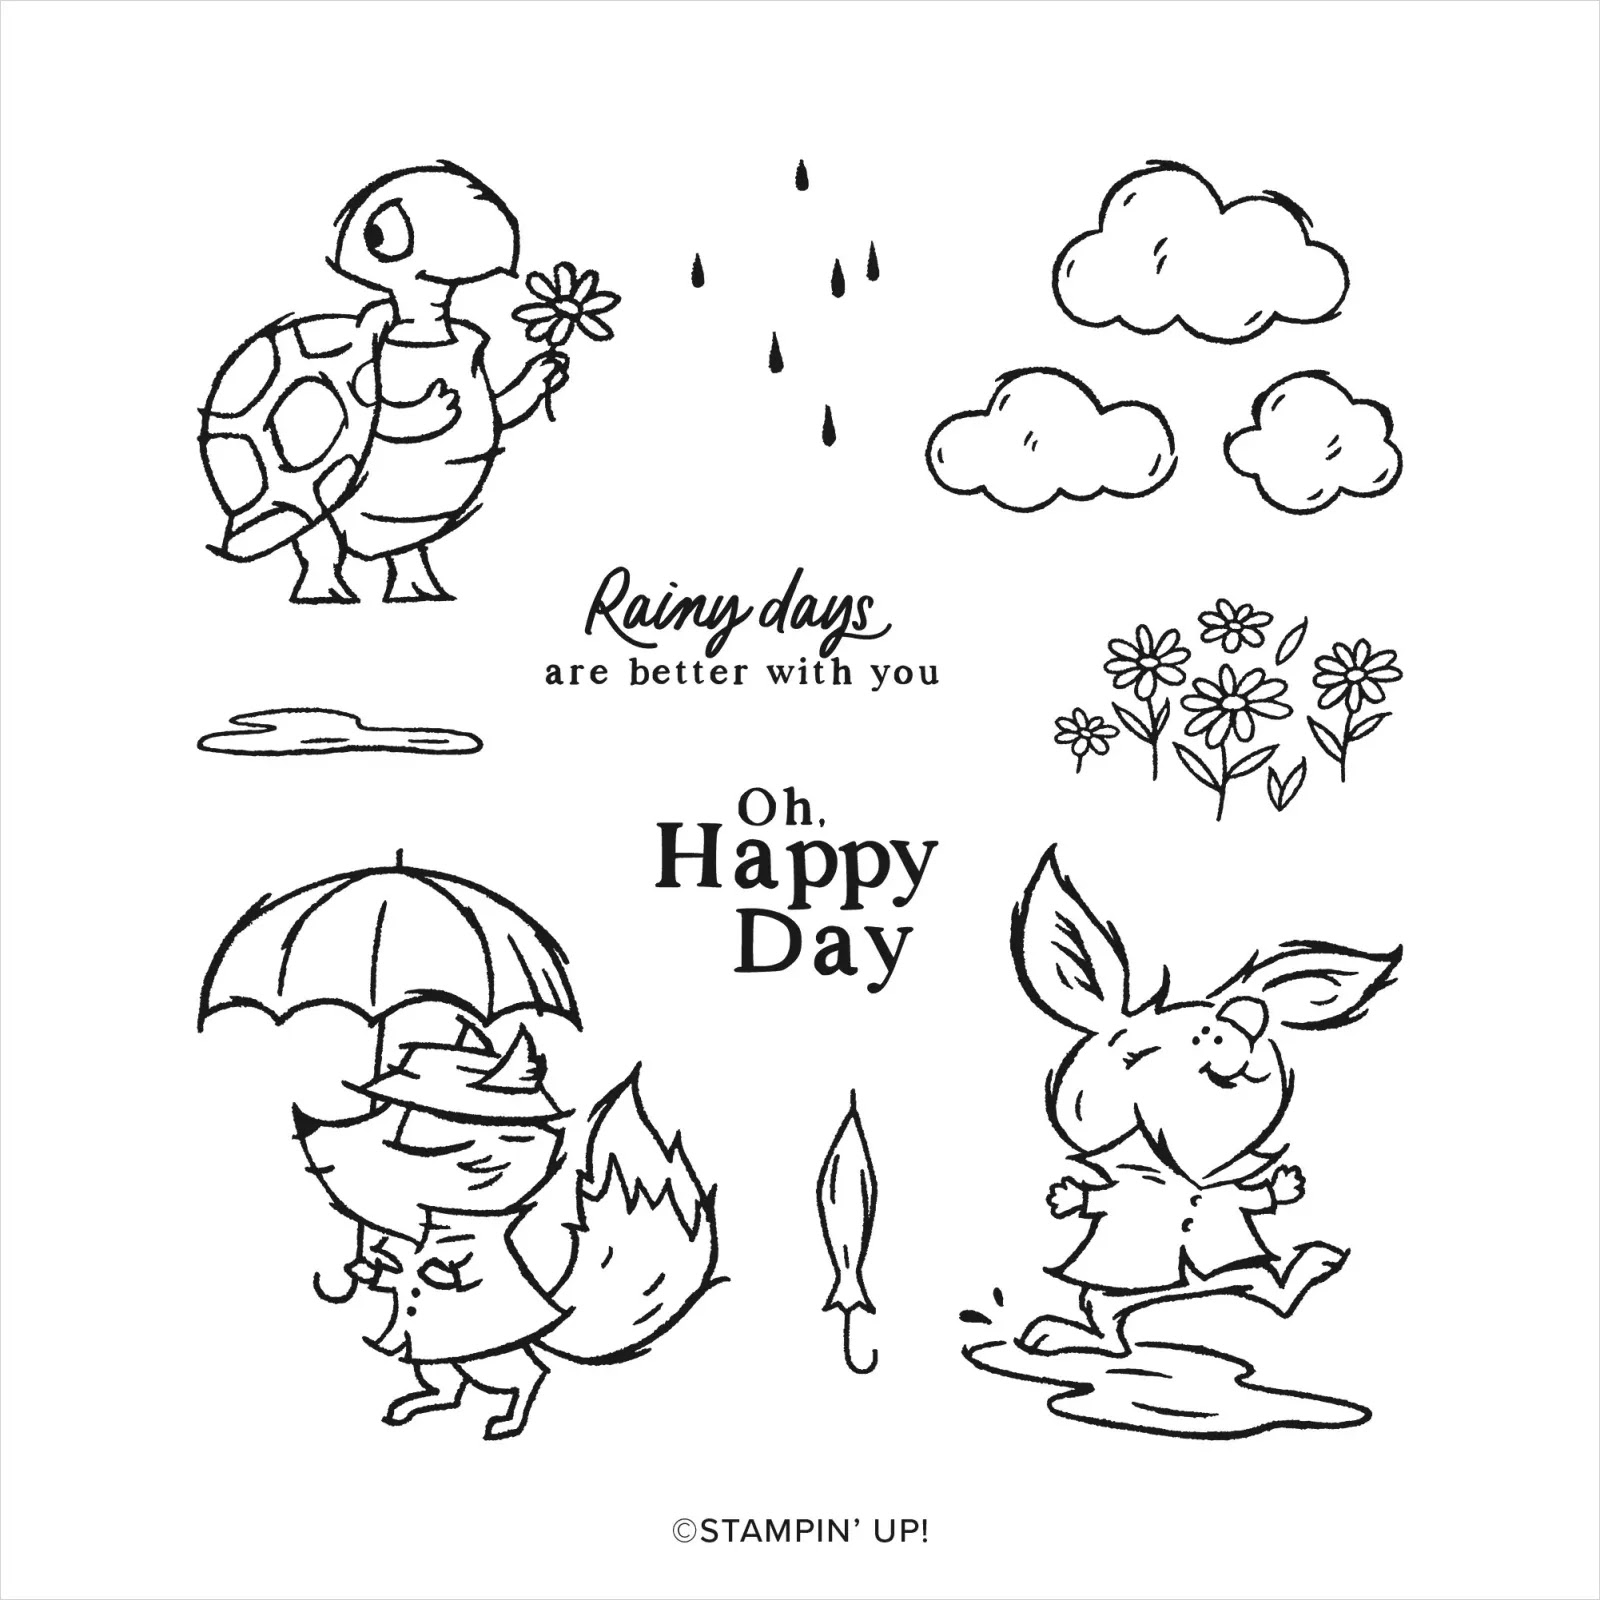
Today's stamp sets are Something Fancy Stamp Set, Season of Chic Stamp Set and the last of my new ones, Playing in the Rain Stamp Set. Such cute little animals in this one.


There are matching dies for this one, too: Playing in the Rain Dies. You can get the two together in the Playing in the Rain Bundle for a saving.


That's all for today, see you tomorrow.

Happy crafting.